In the growing list of things that are keeping me from accomplishing my non-hobby goals, last night I got to spend way too long waiting on tech support for my computer - and not solving anything. So, while I'm still waiting on getting that figured out - and unfortunately, a securely working computer is important to just about all the other steps I'm supposed to be working on - I am happy to report that I put that time spent waiting to use trying something new.
Though, it occurs to me now that I should have used that time working on the 2013 cross stitch portrait. Whoops. Maybe next time - since there's going to be one!
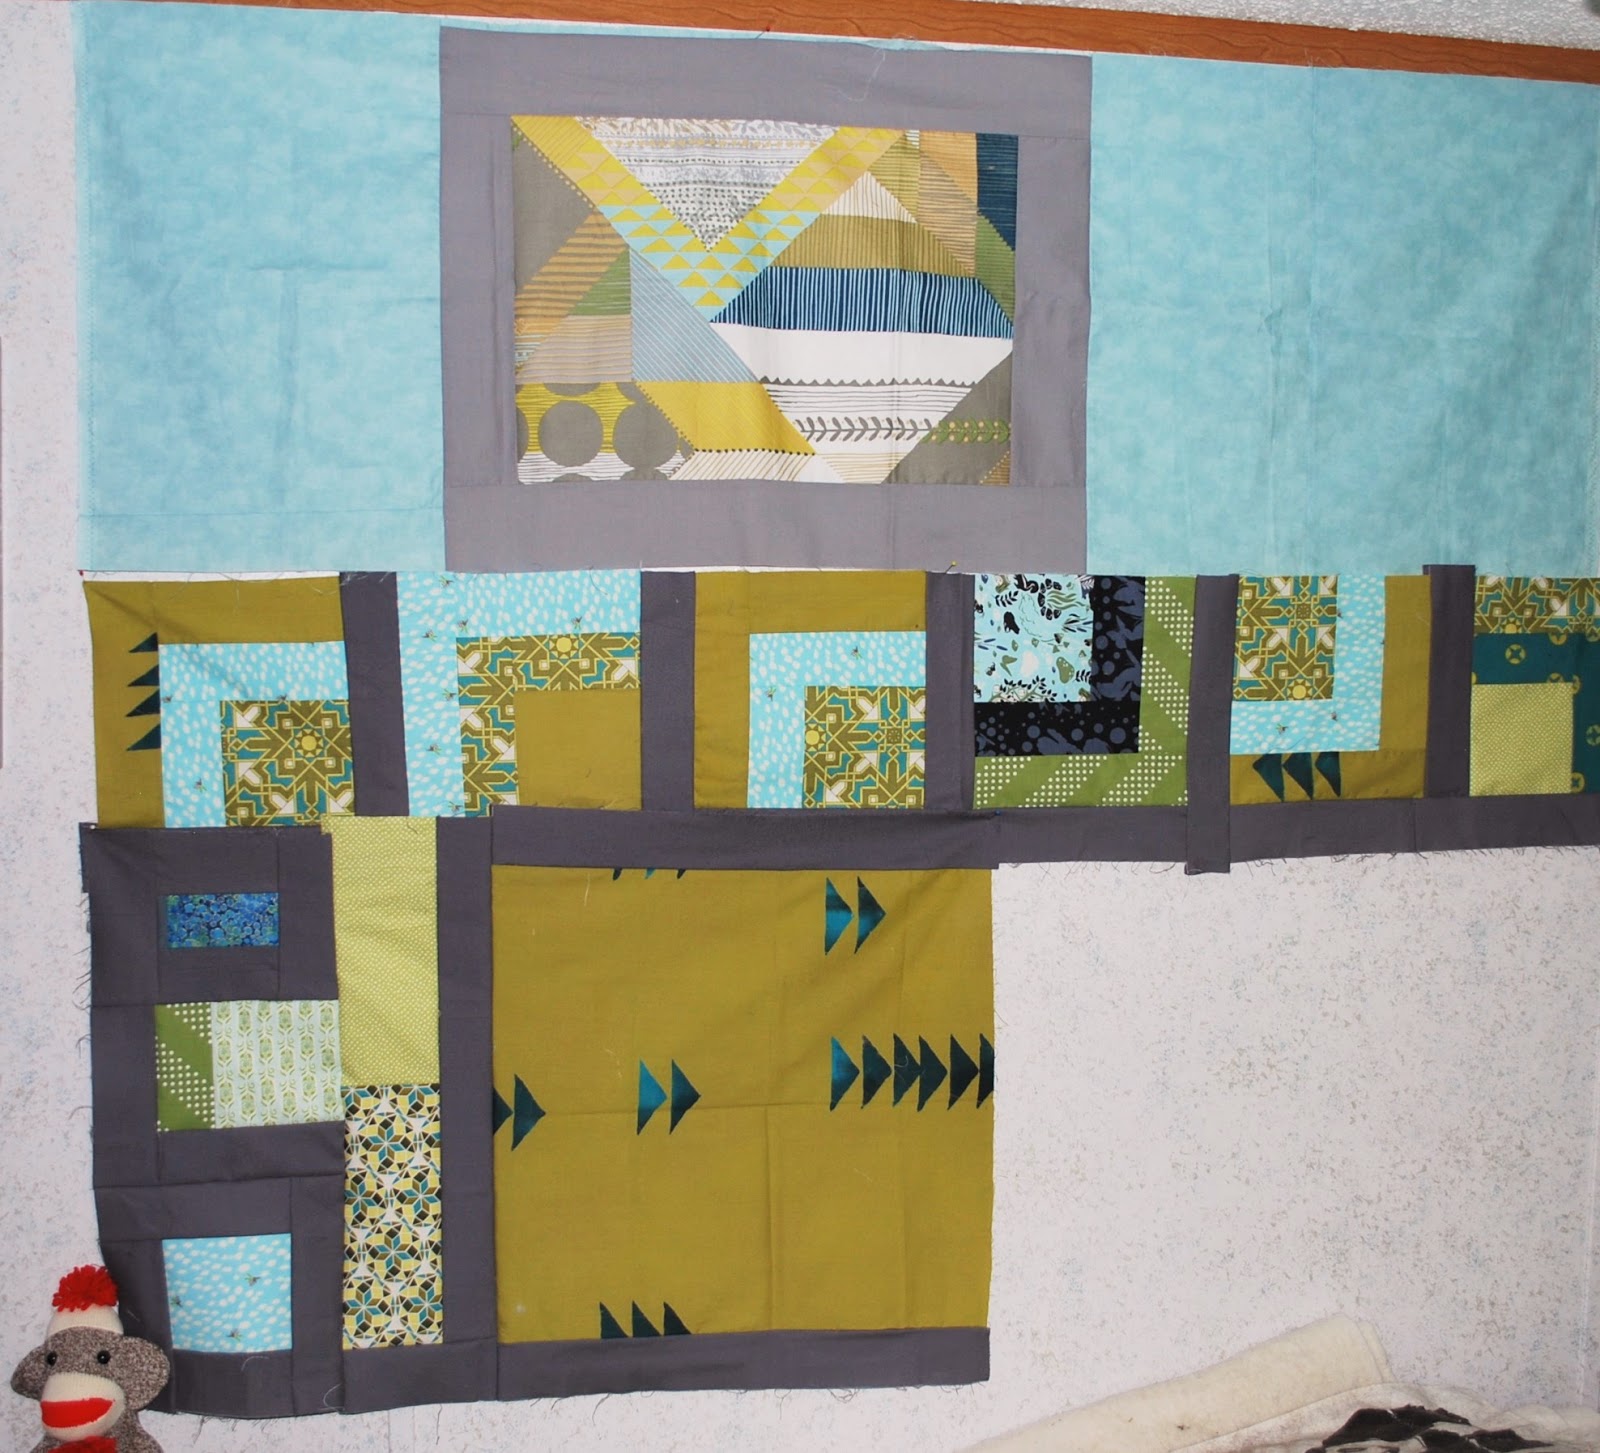
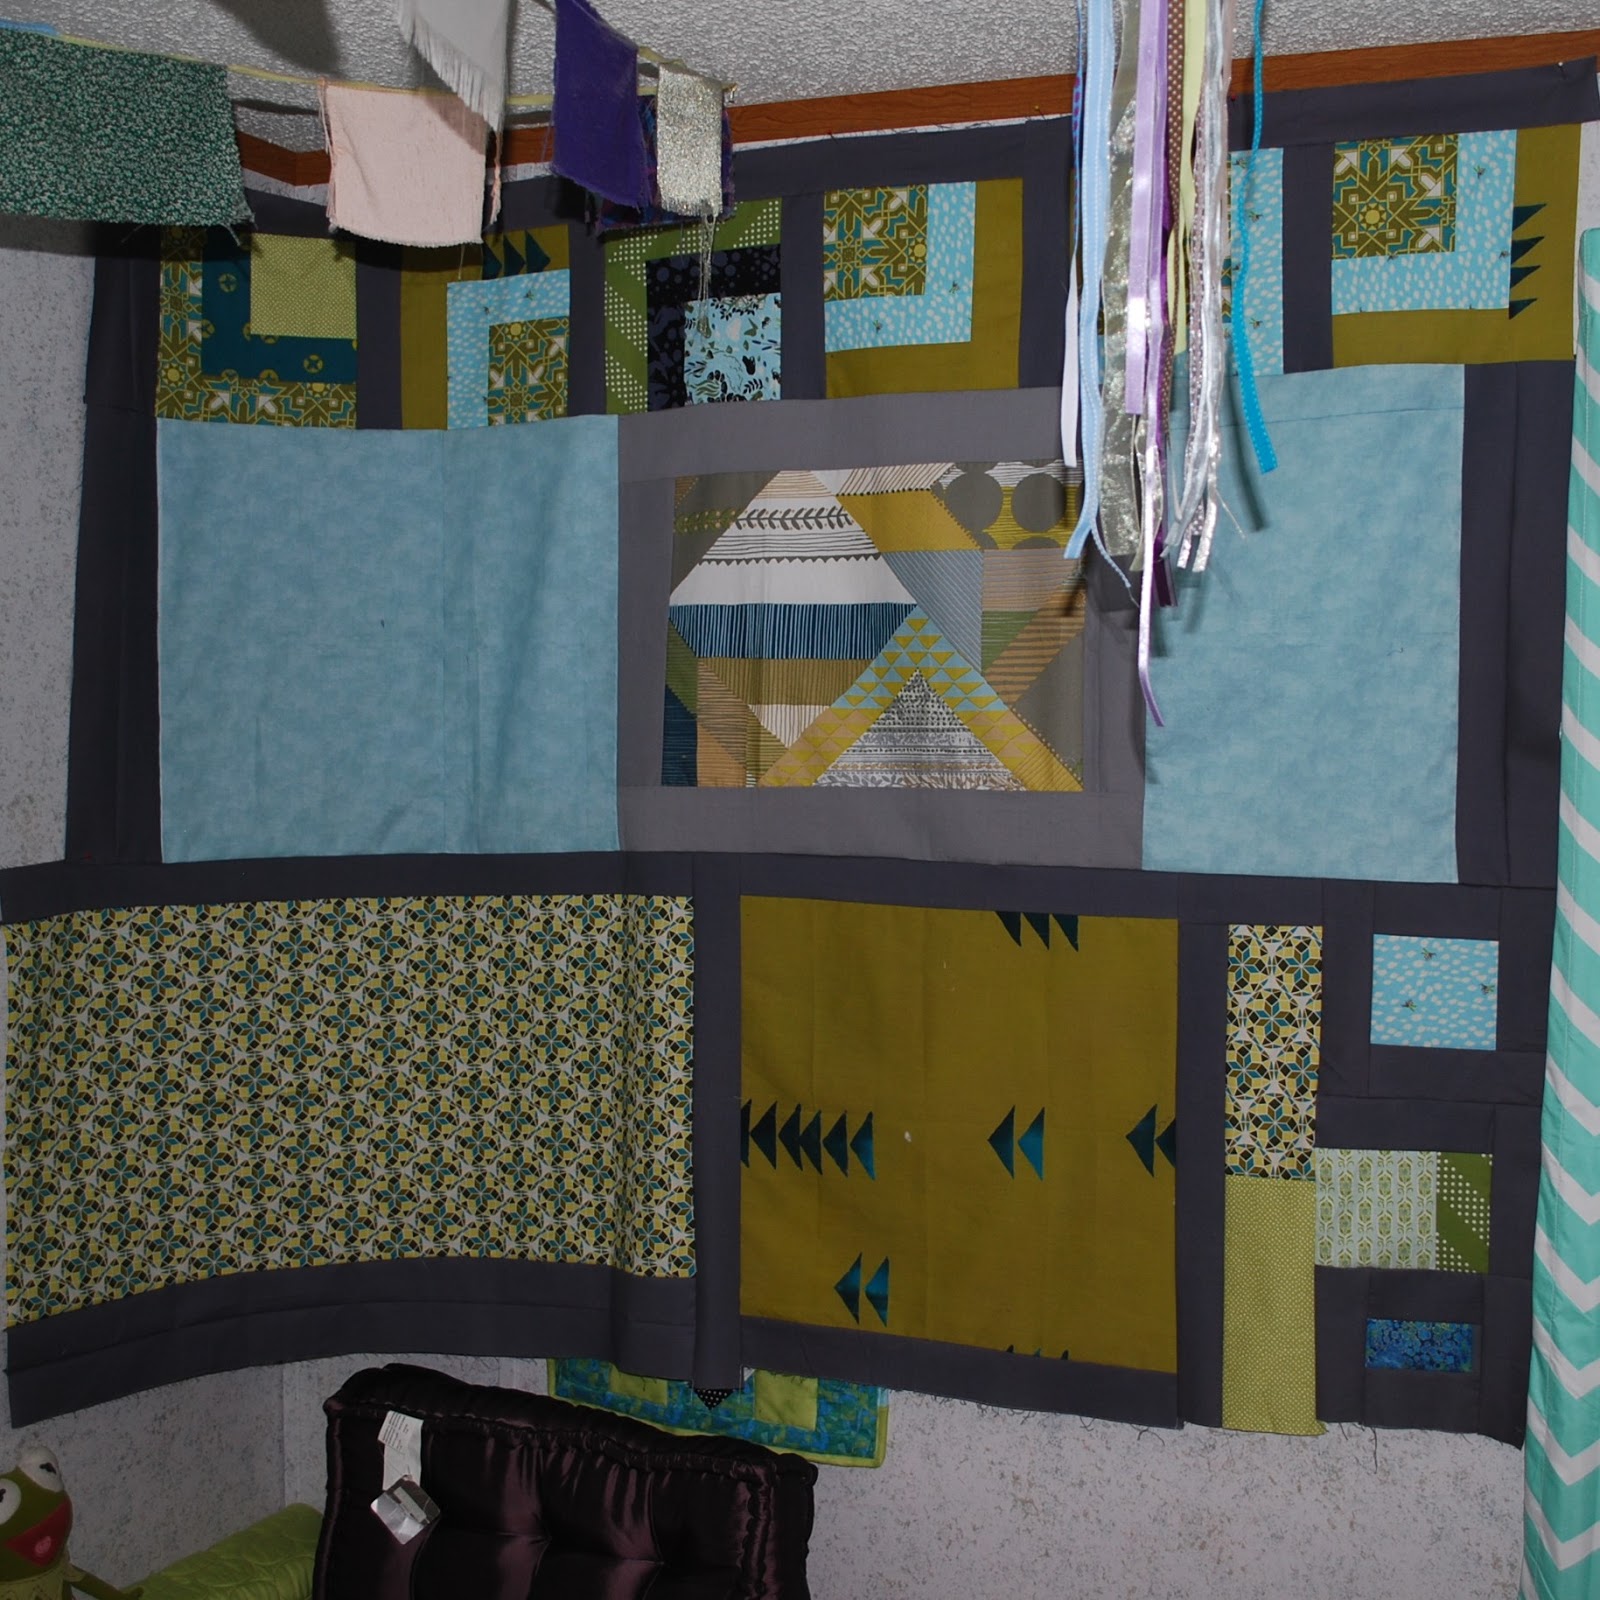
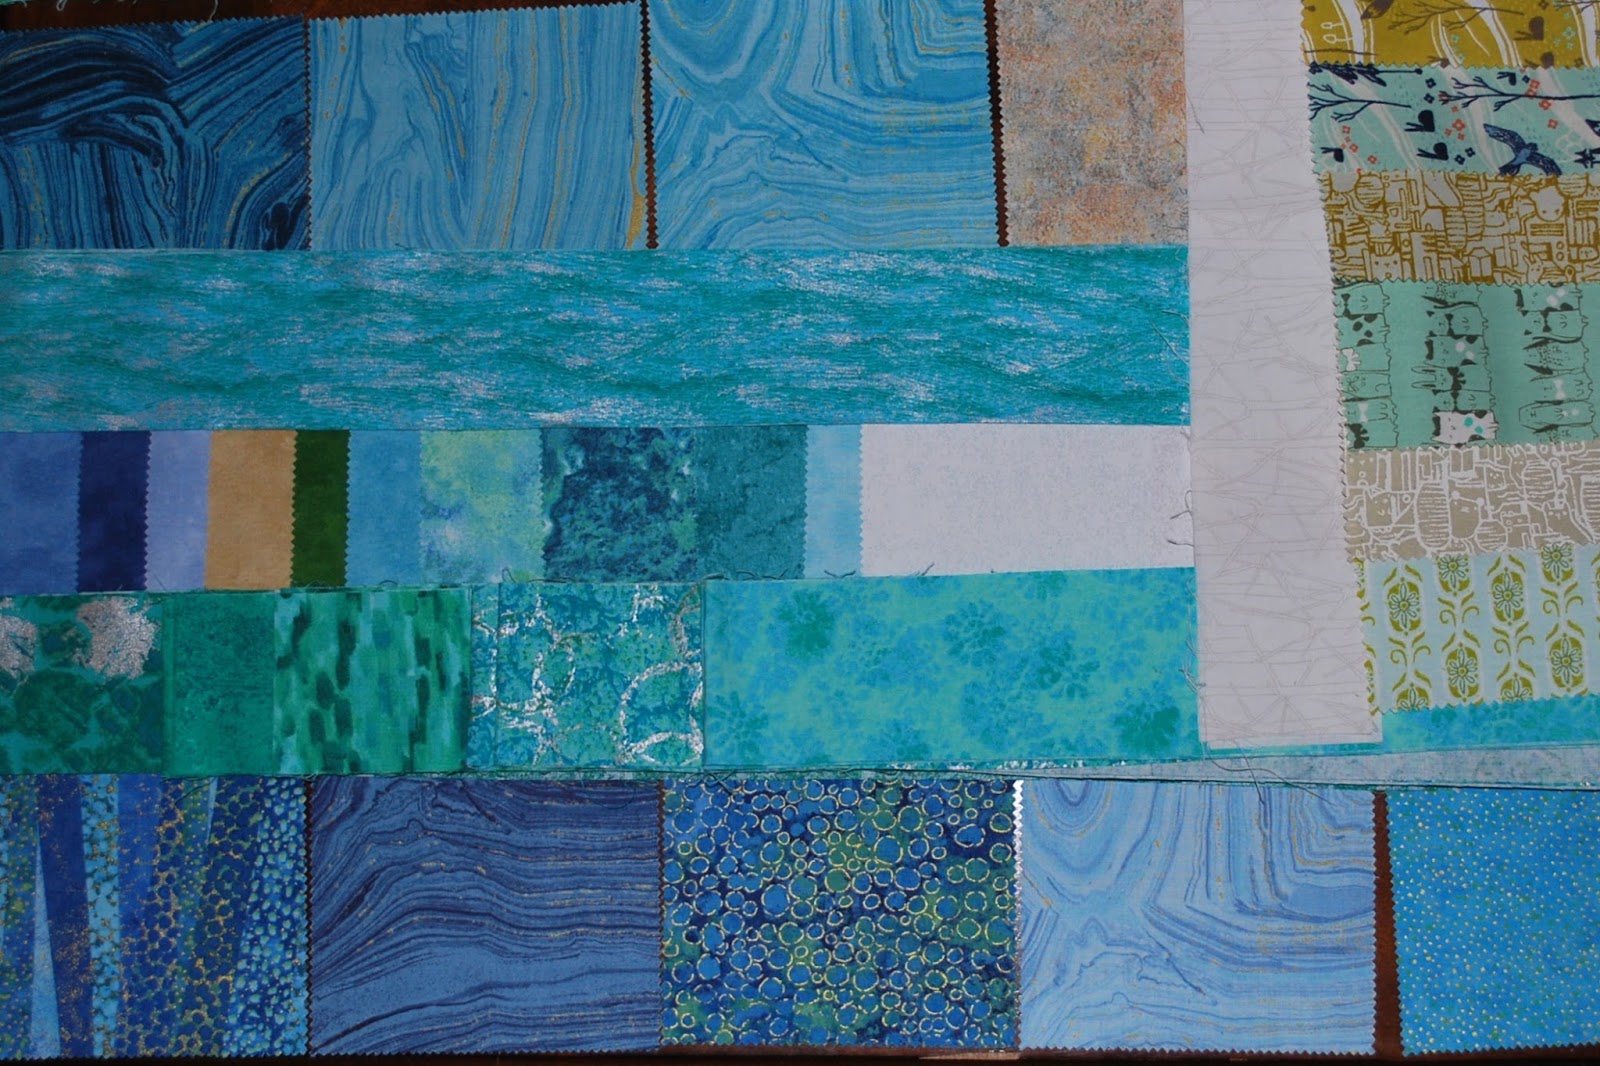
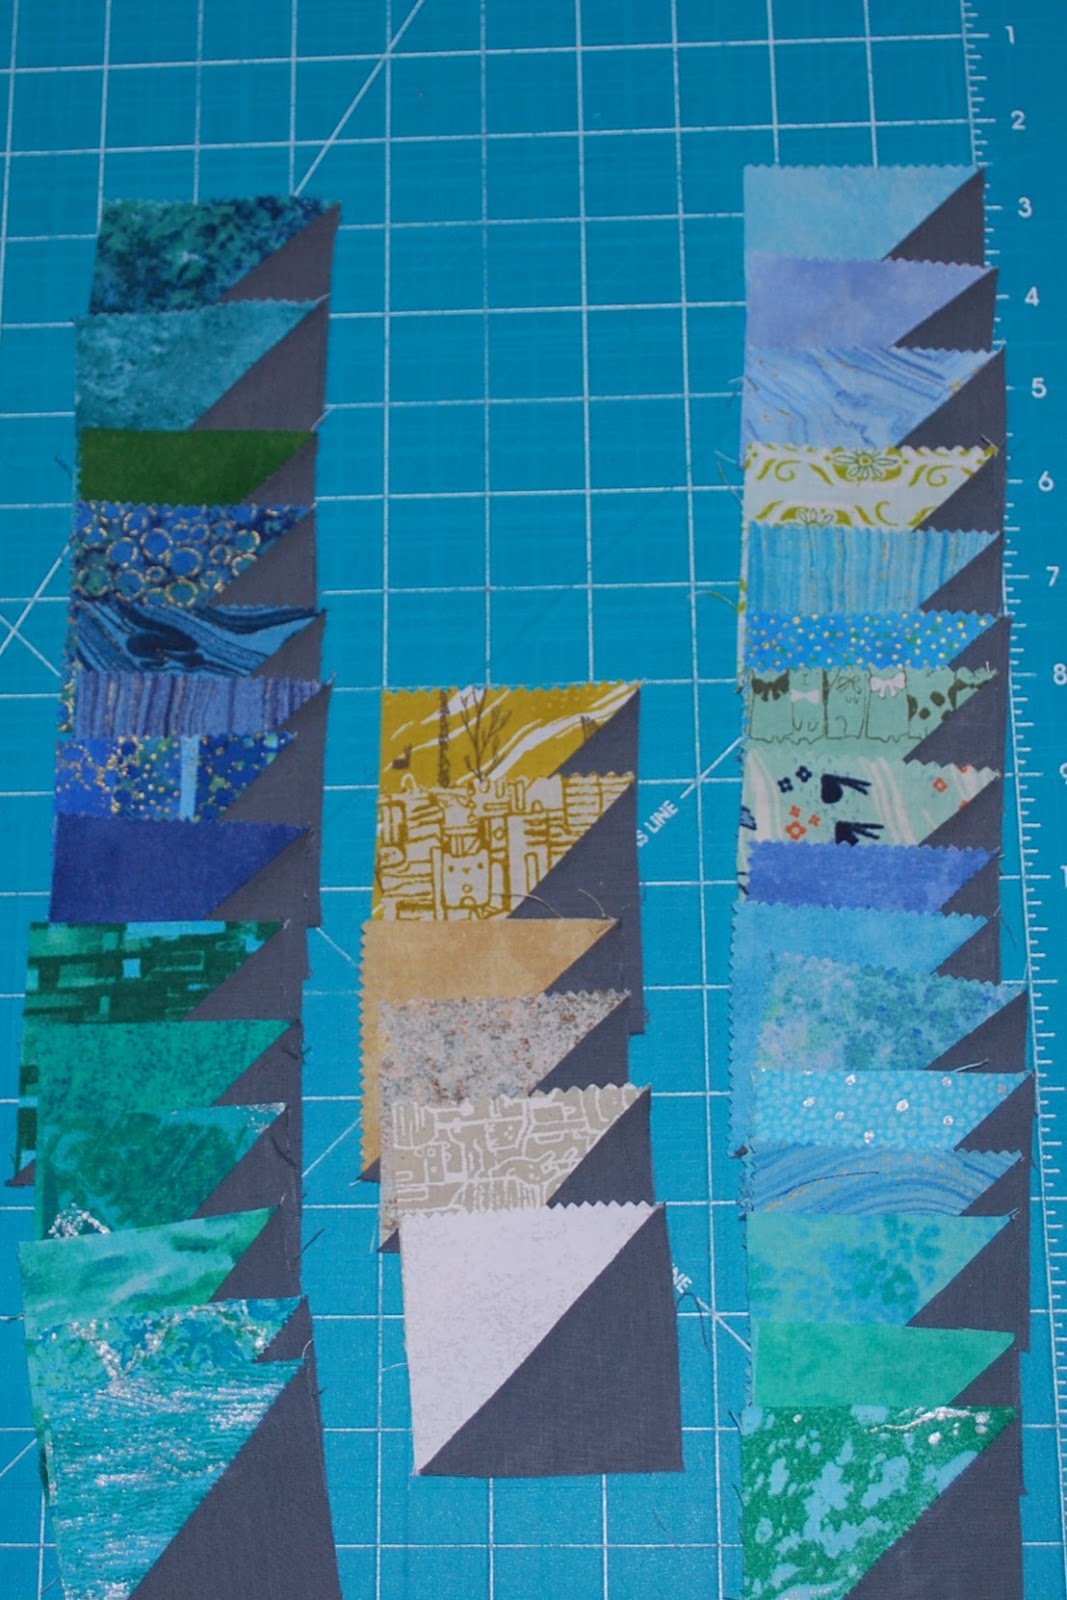
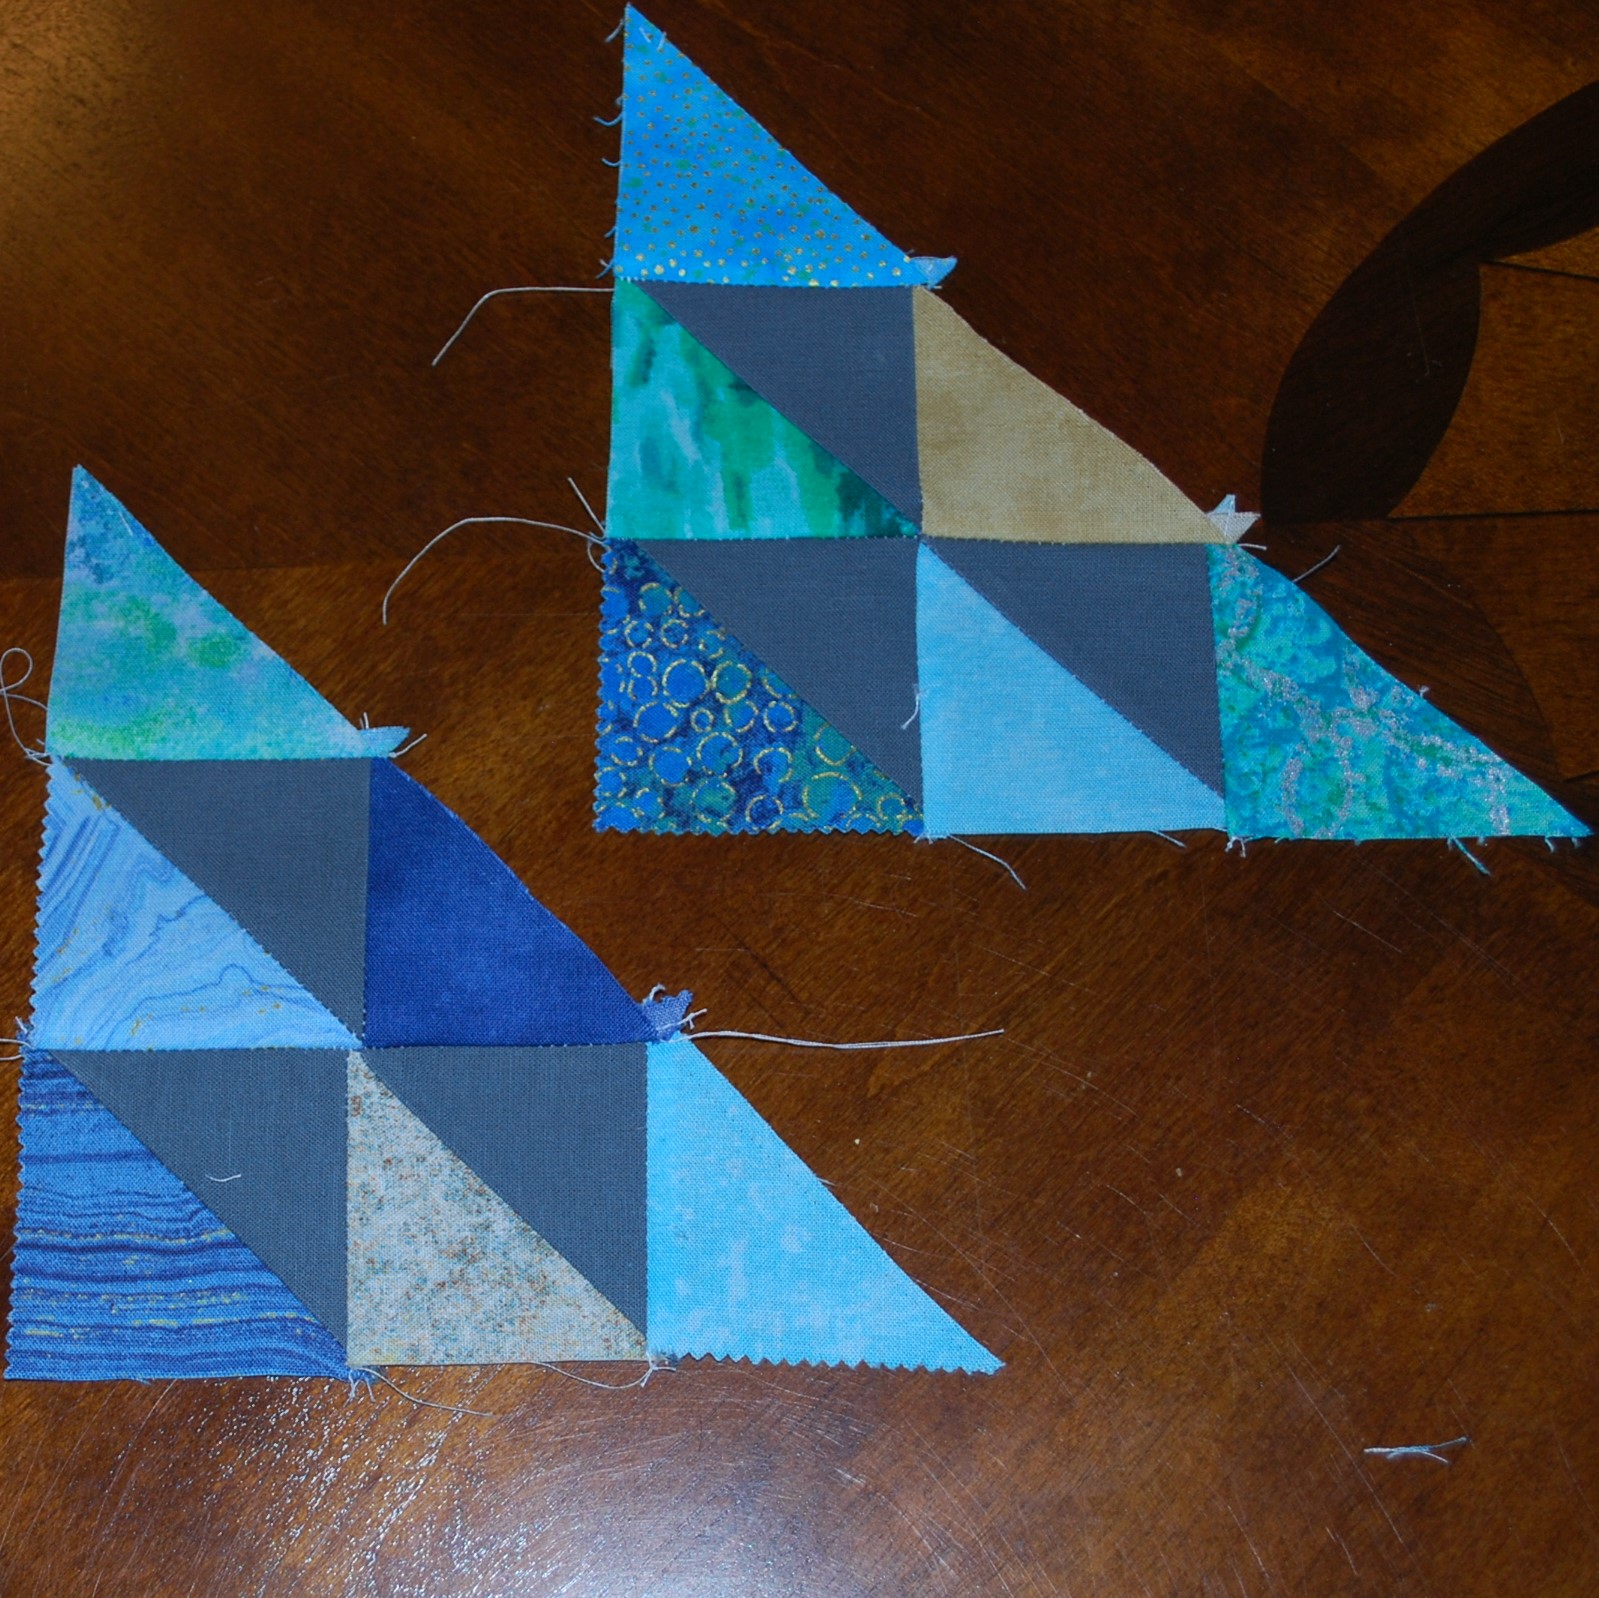
While I was waiting, I was trying to organize my leftover/scrap pile - left overs from other projects or odd blocks with no homes. I have a hard time throwing something away unless it's just a tiny trimming I'll never be able to reuse. I came across some excess that was trimmed off the back of the
Happily Ever After Quilt after quilting. The smallest panel was about 15 by 45 of pieced and quilted backing and batting.
Previously in my waiting-turned-organizing time, I had been looking through some of the things I've pins on
Pinterest and rediscovered a tutorial for
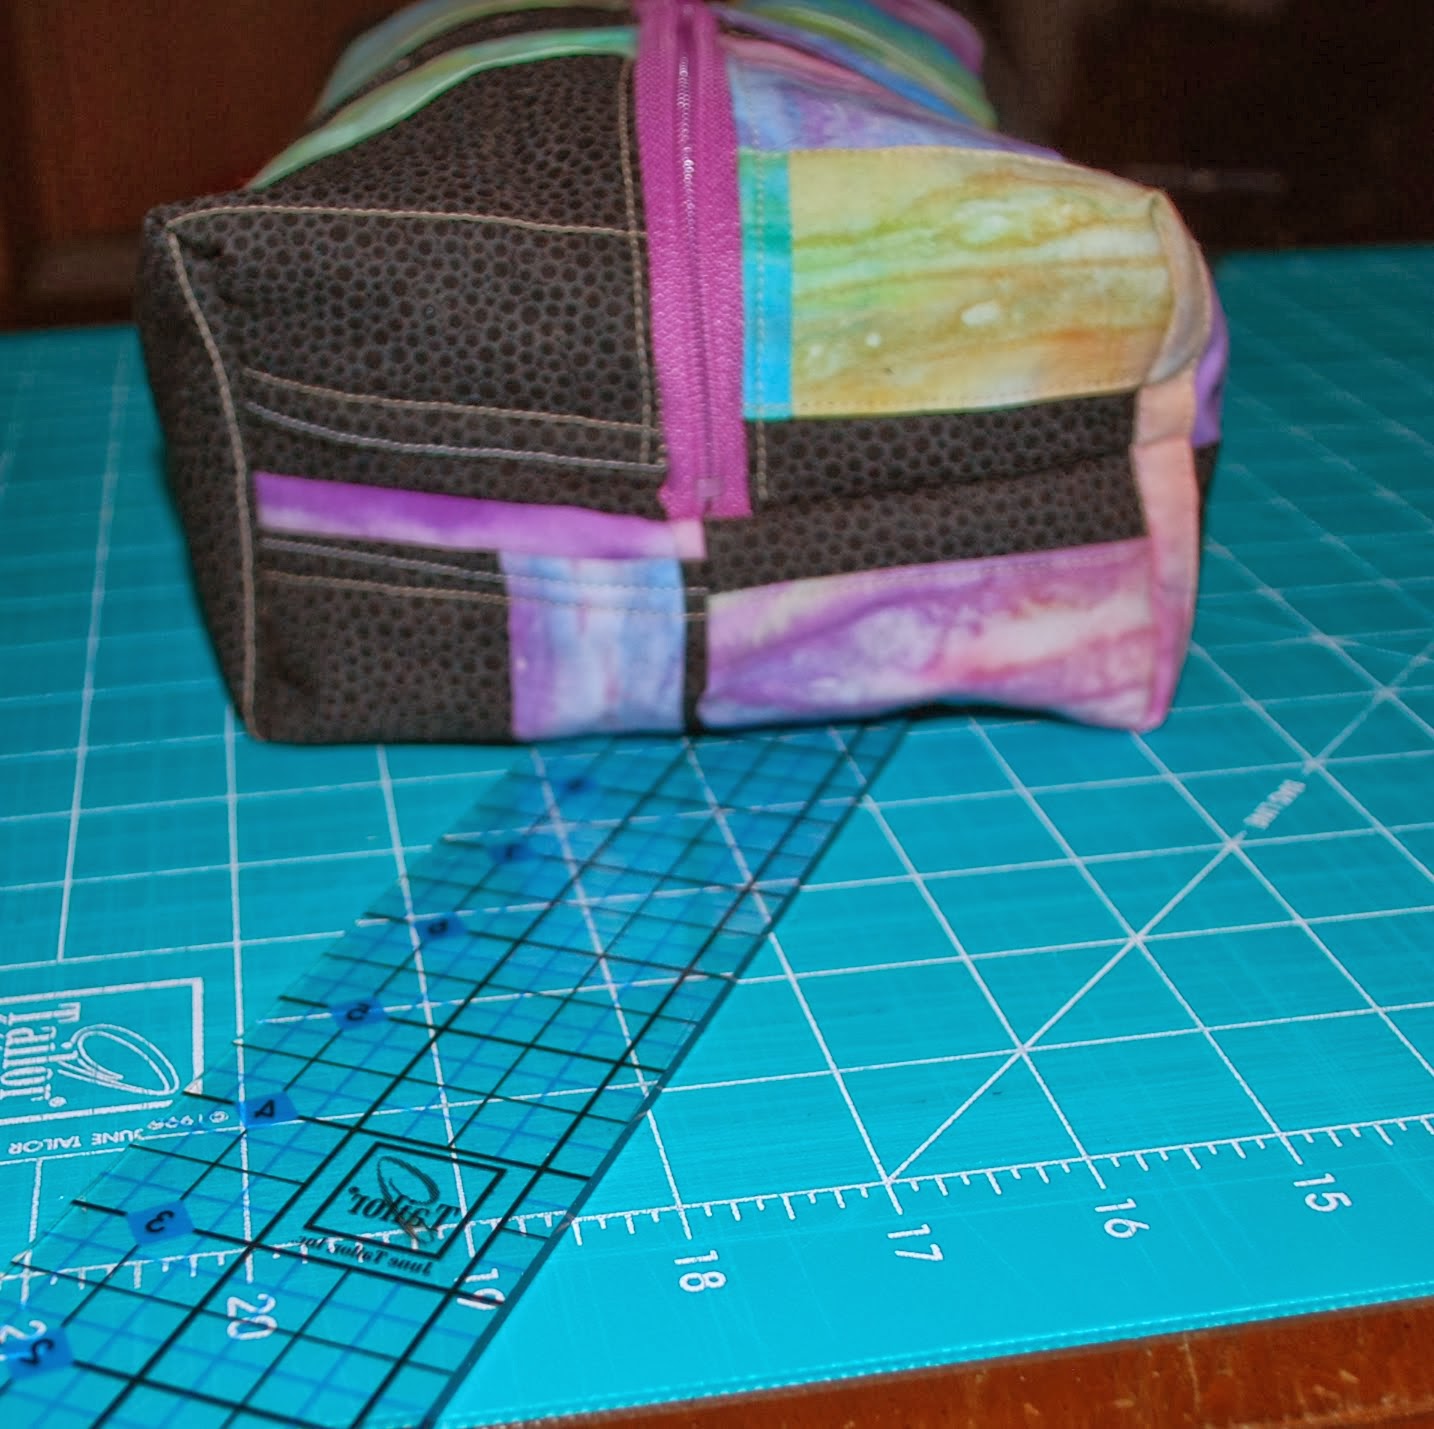
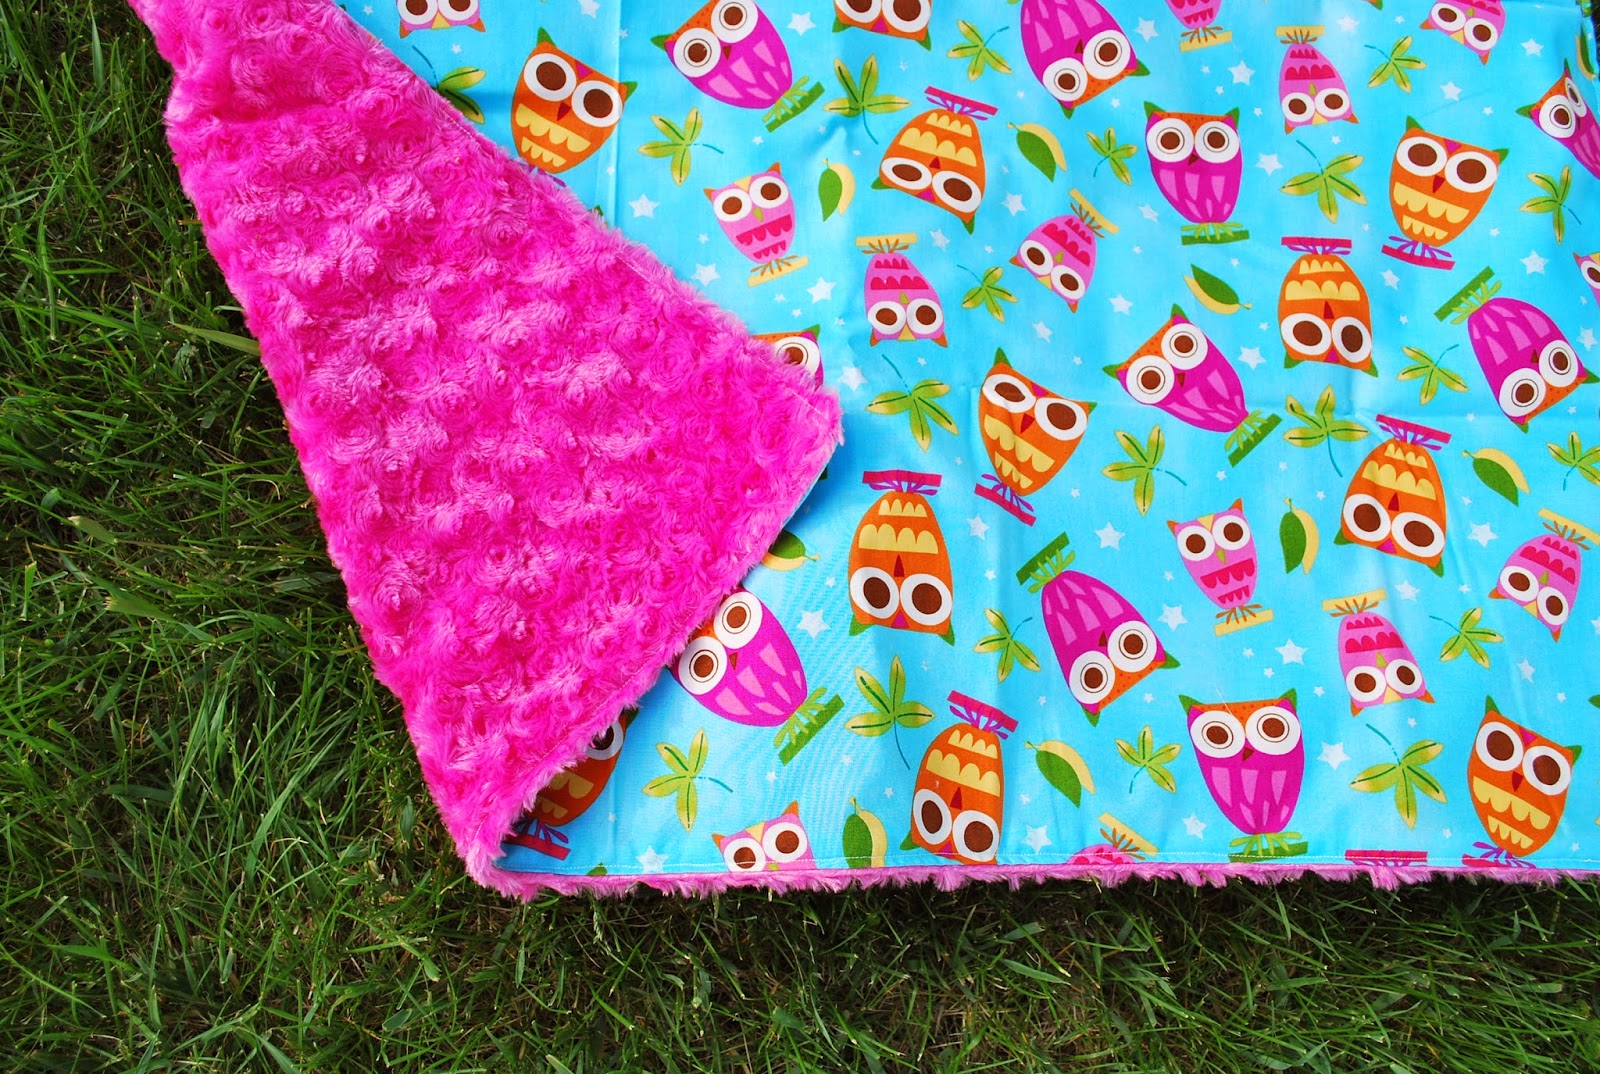
Pink Stitches' Boxy Pouch. It called for starting with two small quilted panels, some lining fabric, and a zipper - all things I had within reach (except the interfacing, which I don't have and figured I'd skip, as usual). It seemed like fate, so I pulled up the tutorial on my tablet and went to work.
My tutorial following skills weren't quite up to par, what with being very distracted by trying to remain connected to three chat windows and a phone line - but I managed to pull together something fairly similar in only about an hour.
Since my zipper was a 14" and I had lots of panel to cut from, I went with a slightly larger box than the tutorial (the larger size is mentioned toward the beginning of the tutorial, so I didn't feel completely like I was jumping off head first). While my panels are a little more random than I'd have chosen if I had started from scratch, having them already pieced and quilted probably saved me an hour or more.
I started with two 15" by 10" panels and ended up about 10" by 6" finished bag. When it came time to box out the corners, I took out about 1.5" (having already forgotten the suggestion to try 2" on the larger panels) - but I'm very happy with the finished size, so I'm glad I forgot!
The tutorial was easy to follow - if I had this much success while doing four other things, just imagine how good the finished product could look if I'd been concentrating! Previous zipper installation practice probably helped a little, but it certainly isn't necessary; the tutorial makes it very easy. I struggled a little with the two ends of the zipper - again, user error of not marking where to stop/start sewing - and sewing the box corners shut after taking out the 1.5" also gave me a little trouble, but I had a blast and I'm pretty happy with how the finish came out. I really want to try it again - minus the tech support stuff.

My lining leaves a little to be desired. The scrappy aspect isn't my favorite, but it's okay compared to the fit. I cut to the prescribed size, and did my best to follow the directions in terms of seam allowance, but it seems a little too large. This isn't an isolated issue - it's happened to the last several bag projects I've made. I'm not sure what the issue is, but I really want to get it figured out - ill-fitting, baggy lining is a serious peeve. This one isn't far off, and maybe after a little use it'll settle in better.
It's not perfect, but it was fun and I want to make more. I always think that immediately wanting to make more is a sign of a great tutorial and a great project. Seriously though, I need to find a reason to make more of these. So family, you just might be getting these kinds of bags as gifts this year. Don't tell! ;)
.JPG)
.JPG)


.JPG)
.JPG)
.jpg)

.JPG)
.JPG)
.JPG)
.JPG)
.JPG)
.JPG)
.JPG)