30 June 2015

Celebrating Progress


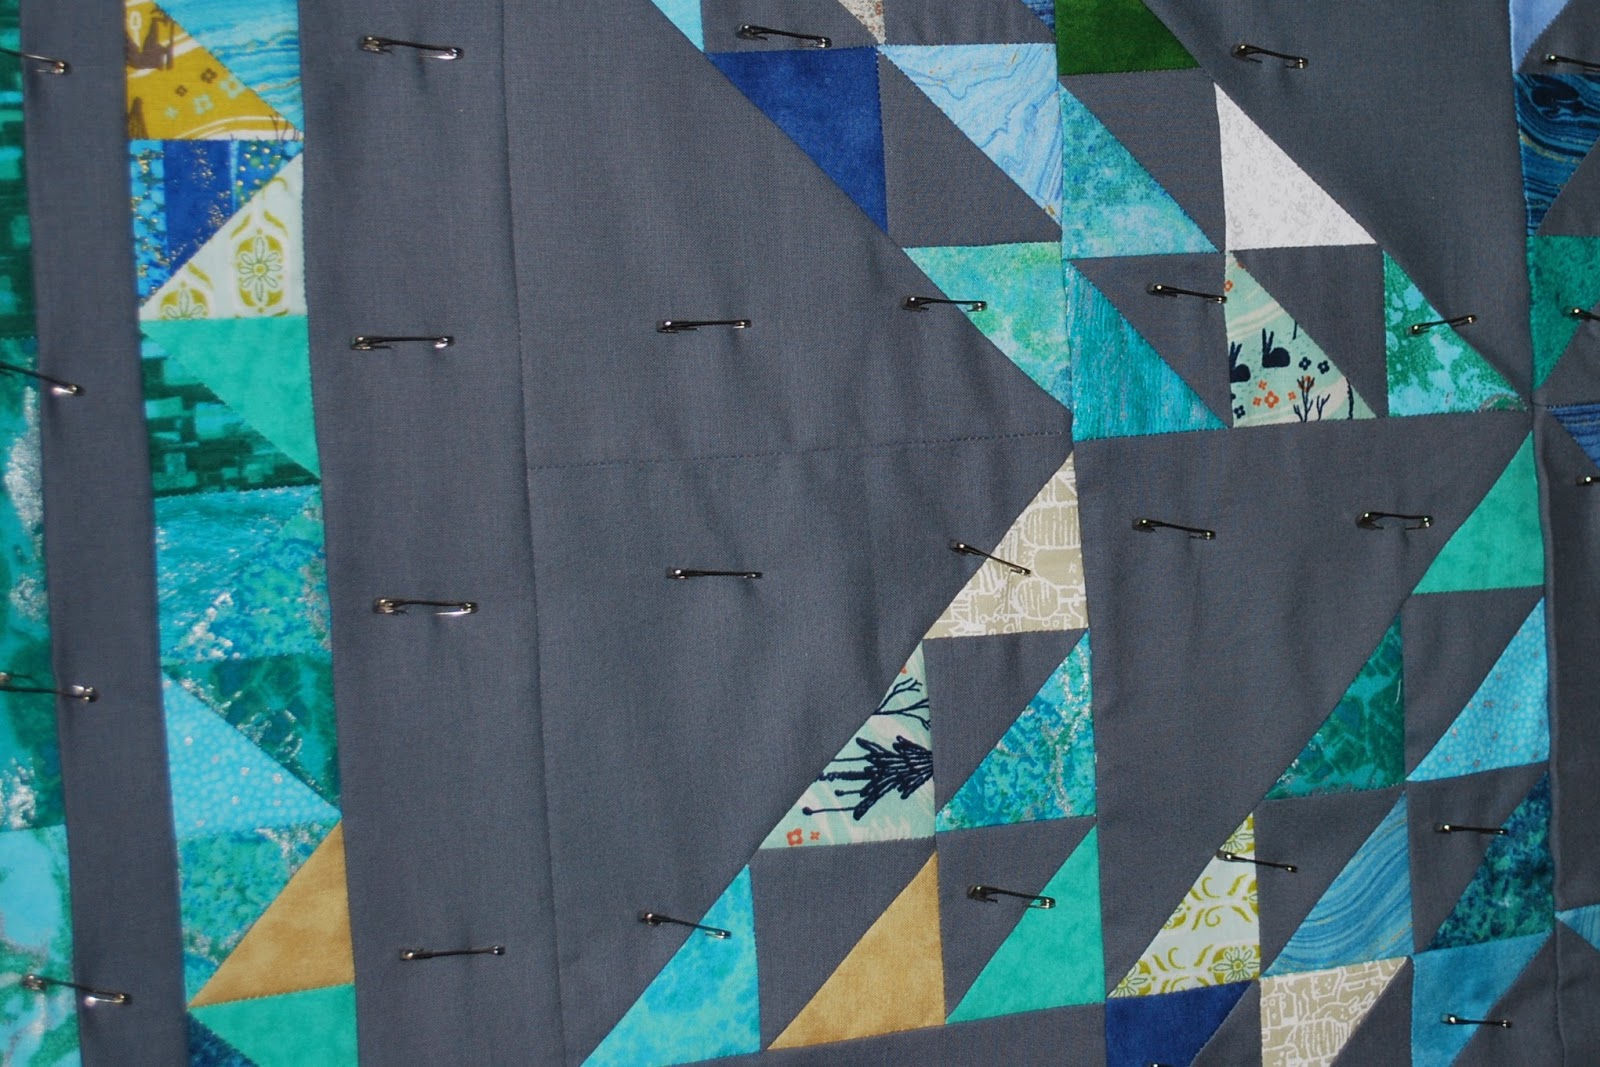
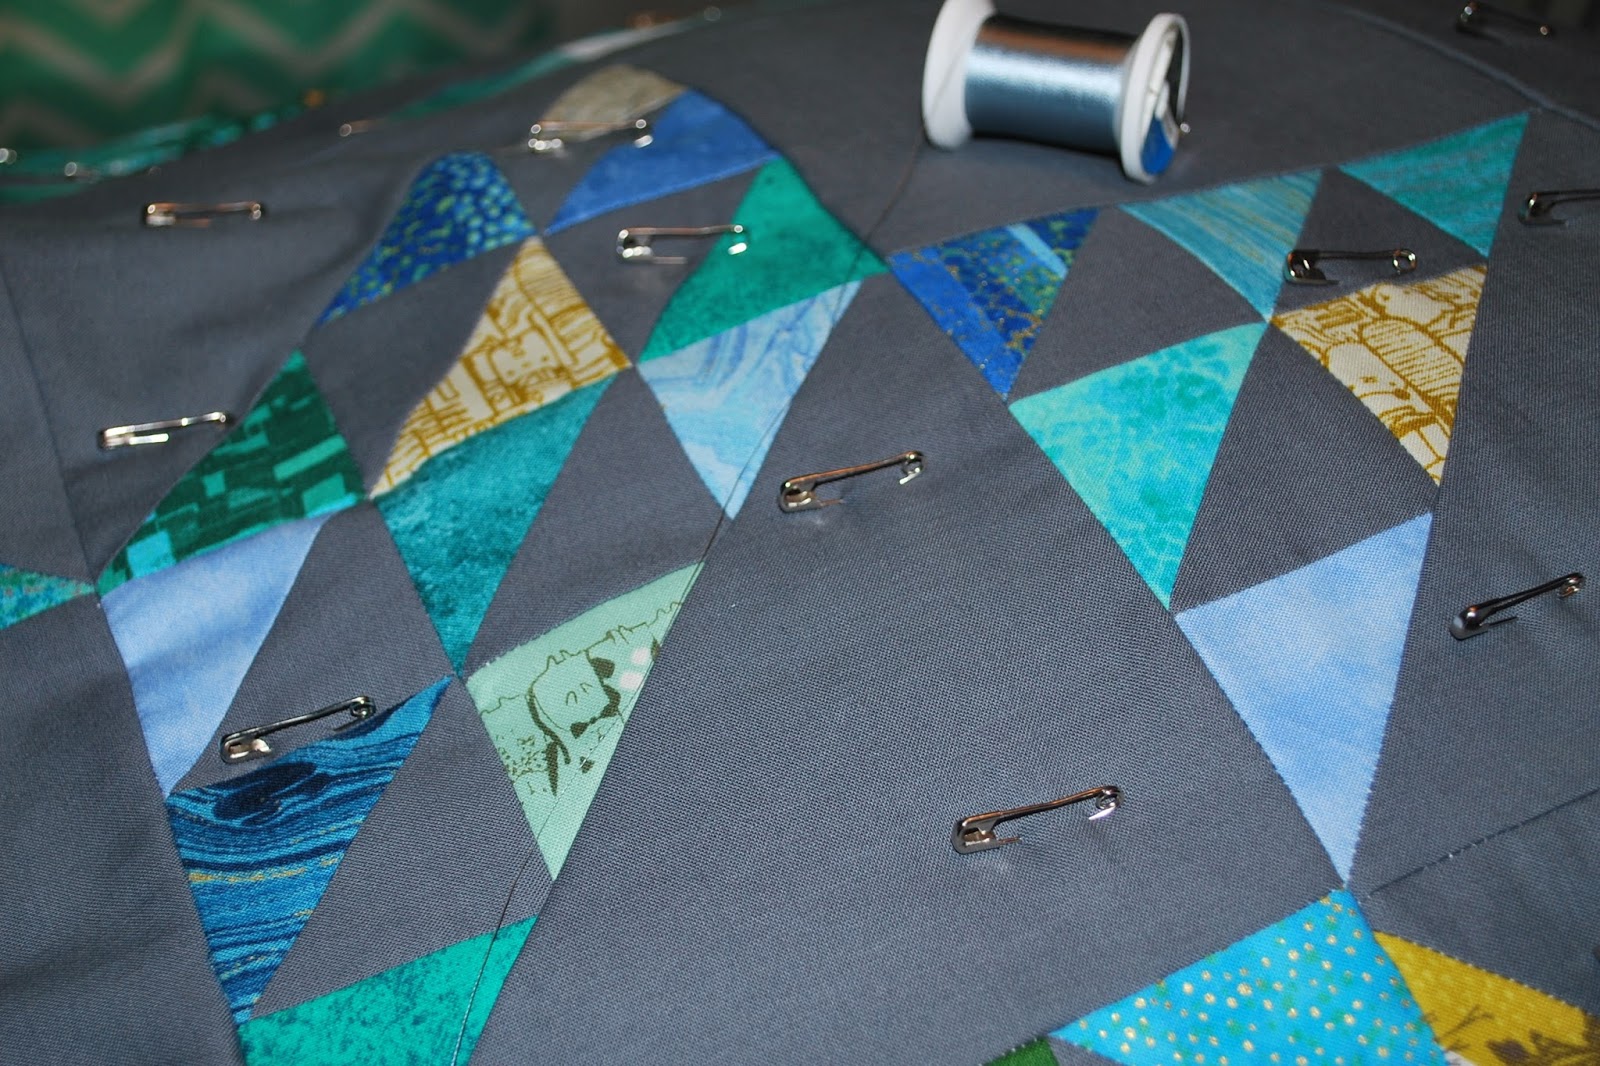
I normally don't have to celebrate every single step of a quilt -- but considering the number of days I spent working on basting this one (4), I am nearly dancing at the idea of being done with that part of the creating process!
I hope I've pinned enough to really minimize any shifting that might otherwise occur during the quilting process. I tried to keep the pins fairly close, but after a few lines of pins my hands started cramping up and swelling, so I've done my best and I'll just have to quilt very slowly and carefully.

As for what comes next, I have a rough idea what I want to do with most of the quilting. I'm going to keep it fairly simple everywhere I can, but there are a few large open fields of gray that are going to need something more than a simple outline. My batting wants a quilting space of 2-4 inches, so I'll have to come up with something. I'm not sure what I'll be able to come up with that works with the quilt pattern and is accomplish-able on my machine -- and in my remaining time.

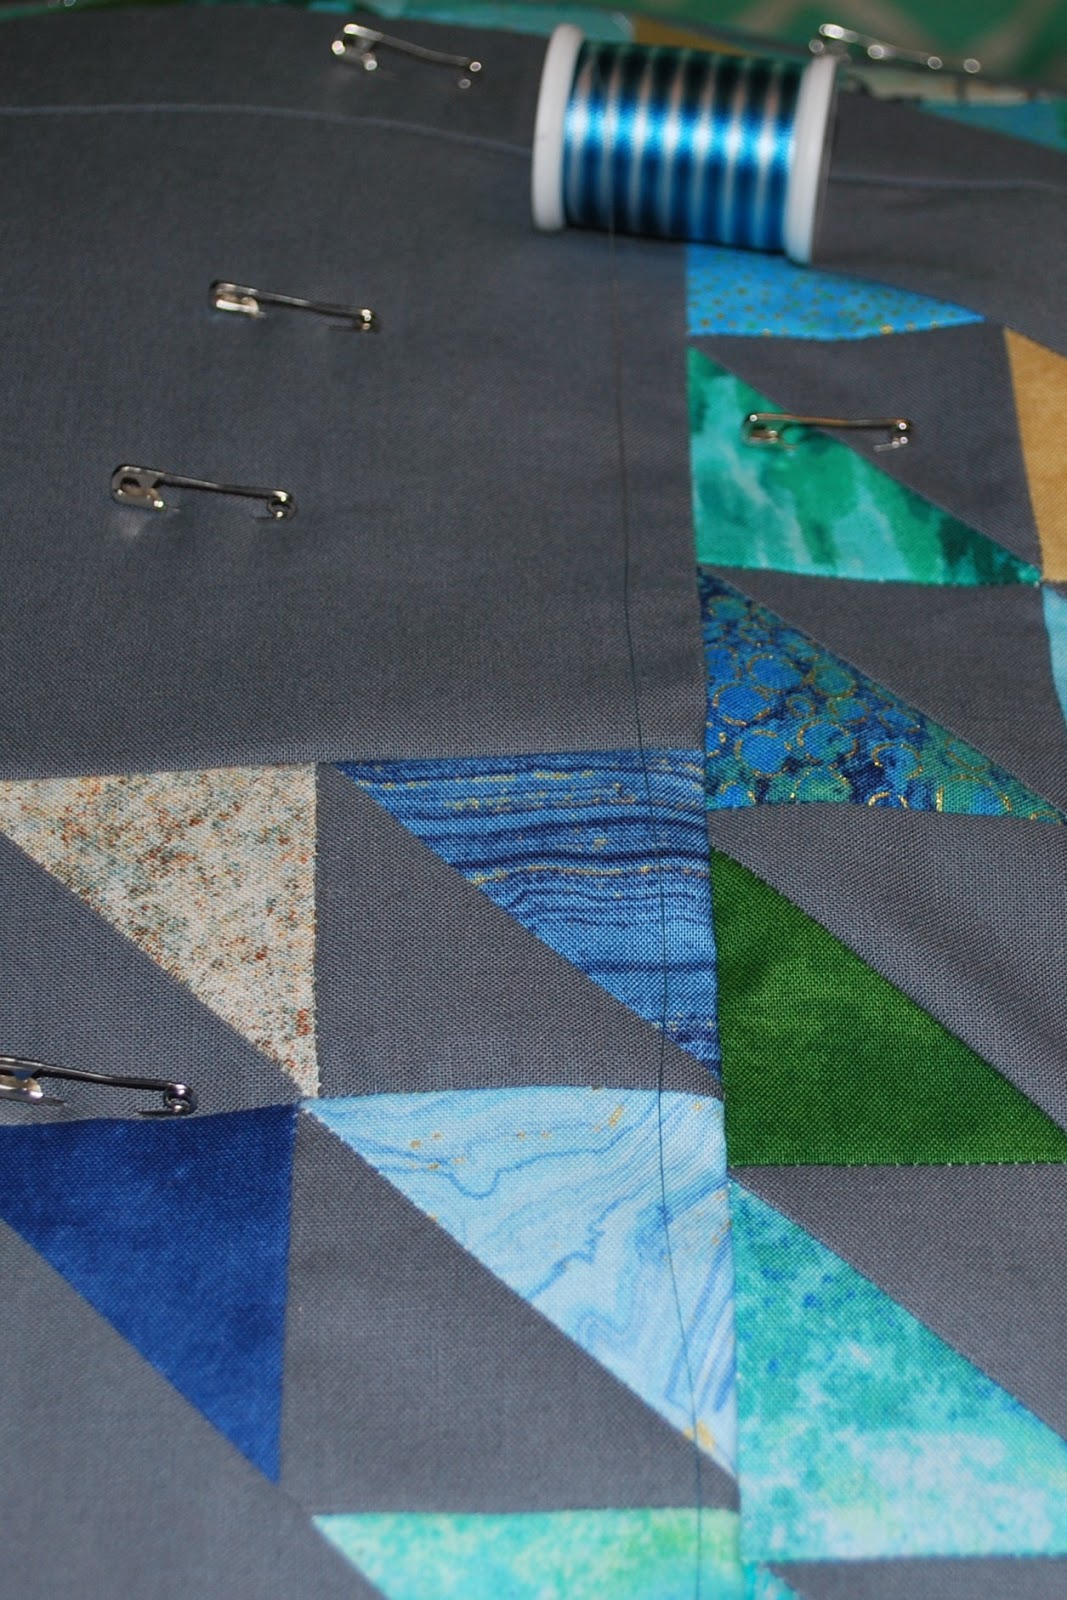
Because of the gray back ground, I am hoping to accomplish most if not all of the quilting in a gray thread. I'm not entirely certain how much thread is left on this spool, so I am a little concerned I'll run out before I finish. I may need to focus on quilting the gray fields first so I ensure they are done in the right thread...

I could always go buy more gray if needed, but I do also have this lovely blue option that might work well too.
I think it would work well in some places, but I'm not sold on putting it over the whole quilt. It's nice to have options though, and at the very least this brighter thread might be a fun addition for attaching the binding or concentrating on a few of the accent points.

I'd better pull up a copy of the top and get sketching. I hope to hit the machine tonight, but I'm only going to start if I am absolutely certain where I'm headed. This is not a point to wander in and start without a plan. Still, I'm incredibly excited to be this far along and I hope that the process is all easy and fun from here on out -- besides, at least if taking the pins out proves just as challenging on my fingers, I can get help with that!


29 June 2015

Sewing (and more) for Baby -- Update #3

My Sew/Craft/Etc. for Baby List 
  • Fitted Sheets for Co-Sleeper Mattress:
    • 2 Cotton -- both now have elastic and have been washed

    •  2 flannel -- maybe later?? 
    • Is 3 enough? Am I crazy? 

  • Zipper Front Sleep Sack
    • At least 2? -- Um... I'm thinking I might not get around to this one. I've got some other sleep sacks from gifts and I might see if I can make it work with those. If baby is as hot a sleeper as Greg, I'll have to come back to this one and try something lighter weight than the fleece once we got! 

  • Changing Pad Cover
    • 2+ 
  • At least 3 1 quilts/blankets (mostly to use as play mats)
    • Panda Quilt -- in Progress

    • Minky Cat and Mouse Quilt -- Done

    • Autumn Woods Patchwork/Panel -- Done


  • A Quiet Book (for later, but should start as time allows)

  • Bibs -- in progress!
    • I've got 6 ready for snaps -- just haven't gone outside to pound on them with a hammer! 


  • Wipes
    • Single weight flannel
    • Double weight flannel

  • Wash Cloths
    • Flannel/cuddle fabric
    • Flannel/texture fabric
    • A couple for a gift

  • Burp Cloths
    • I'm guessing we want quite a few of these? 
I wound up with a lot of extra flat diapers, so for now I'm going with those. Most of them are still white / untouched, but I may end up dying more of them if time allows. I love the finished look -- even when the color doesn't turn out as expected, which is more than 50% of the time --but the process is time consuming, and the 'rinse' process is especially frustrating for me. I've dyed a few over the last few months, thinking we might use them either as part of the diapering process or the burp cloth (or a general clean up whatever is happening cloth!) but I have a LOT more white ones to go -- and I can only dye about 4 at a time before the coverage turns out really spotty. 

In addition to dying some of the flat diapers, we also dyed a few onesies, tops, and two of the plain white swaddles we were given. 
The process is a little frustrating to me, but I really like the outcome... If I do end up taking some kind of maternity leave before baby is actually here, I might have enough hours to do a few more, but if I work right on through there's no way I'll have the time. So, we'll see! 
  • Hooded Towels
    • 2 for gifts
    • 2 for us
2 hooded towels -- one with yellow trim, one with original
  • Leg Warmers
    • 3 made, which is a good enough start for something that may or may not work out. I'm calling this good until we see how they work out in reality. 

  • Texture 'lovie' blankets
    • 3 for us
2 small 'lovies' for us, plus 2 wash cloths
  • 1-2 for gifts -- 1 down, 1 smaller one to go
The larger gift texture 'lovie' blanket

Not on the 'sewing' list, but I have finished one other project for the baby too... 
It's not quite as lovely as the examples I've been drooling over on Pinterest... but it'll work for now and I can always dress it up later if need be.

28 June 2015

Progress

Wonky Star Compilation Quilt -- CQG

Recent Progress: quilting (in progress, very slow progress...)
Yet to do: bind

Our Bedroom Quilts (take 2)


Recent Progress: Top 1 is finished, Top 2 is finished
Yet to do: Make backs, baste, quilt, bind,

Scrappy X Plus Blocks / Quilt

Recent Progress: top finished
Yet to Do: iron, baste, quilt, bind, wash

Half-Square Triangle Quilts (Saturated/Black and Muted/Brown)


Recent Progress:
Yet to do: Cut solids (half done), piece tops, make backs, baste, quilt, bind, wash


Embraceable Quilt

Recent Progress: quilted
Yet to Do: bind, wash, give away

Black and White and Panda All Over Quilt (for Baby)

Recent Progress: finished top
Yet to Do: buy batting, back, baste, quilt, bind, wash

Hazel Hedgehog Mini Quilt -- DONE

Recent Progress: top finished.
Yet to Do: back, baste, quilt,

Oceans Quilt


Recent Progress: finished top and back
Yet to Do: baste (in progress), quilt, bind, wash -- all asap

Waiting to Start:
  • Hooded towels x 3 1
  • Bibs x 10

27 June 2015

Random Reflections 2 of 2 Top Finished

I know I said I was going to put these two quilts away until after the baby stuff was ready -- but while the nursery was a complete disaster and my basting wall was covered with furniture that needed to be craigslisted, there wasn't much else I could think of to work on. It's also true that out current comforters are getting rather shabby, so these two quilts have been on my mind regularly. I know they won't get finished any time soon -- especially now that I know how challenging basting is for me right now -- but progress is progress!

I still wish I'd put a little more work into ensuring the top had more deep blues and greens and less whites. This one should have been color coded closer to the Oceans Quilt I've been working on all week. Well, it's not quite as I'd envisioned, but I'm certainly not unhappy with the finished top.
I had a hard time matching the seams up, but I did my best and it's just going to have to do this time around. If I make a pattern like this again, I really need to do it all at once or somehow ensure that I'm really locked into the same seam allowance all around. Having put some of these pieces together months ago, there is some variety in seam allowance that isn't ideal -- but I've gone back to keeping a piece of tape on my machine to remind me exactly where I want to be, so the newer seams are much better where they can be!

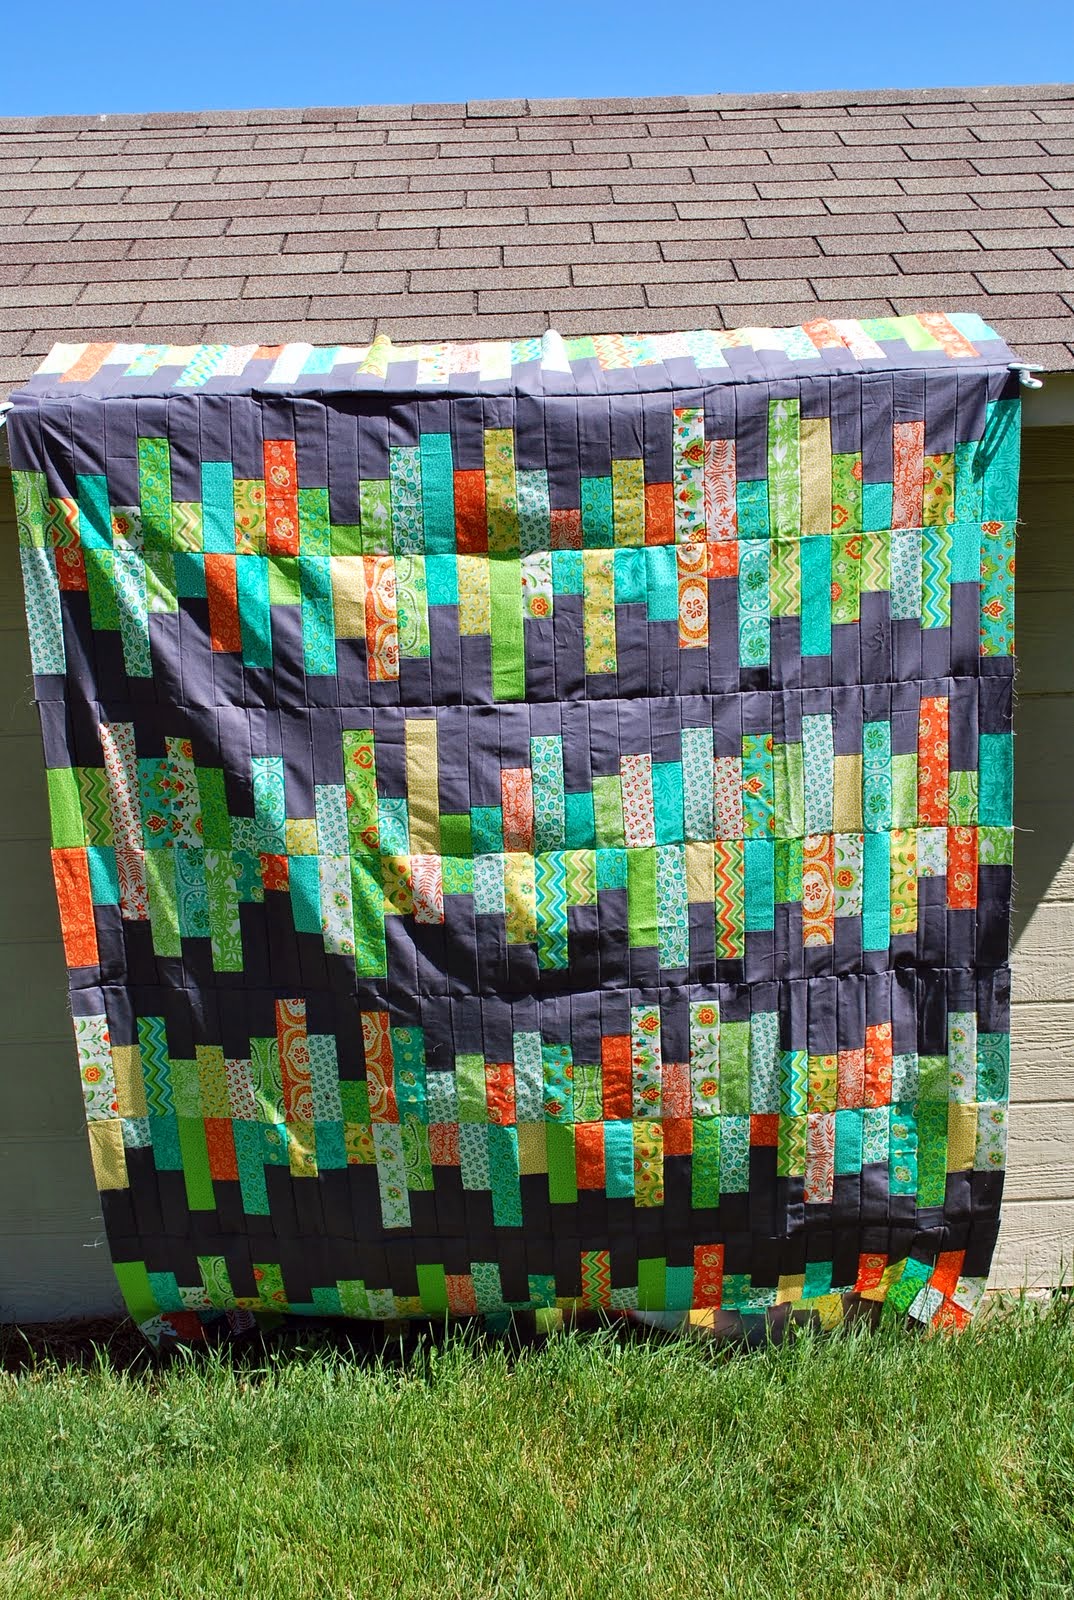
Below: Random Reflections 2 of 2 (for my husband)
Below: Random Reflections 1 of 2 (for me) 
While 2 of 2 might not look as blue/green/grey as I'd intended when setting out, comparing it against my 1 of 2, it does suddenly begin to look a lot more blue/grey and a lot less colorful! I'll also say, this year's grass is looking much happier and healthier, which might help. The 2 of 2 pictures are completely untouched in terms of color processing, and that grass looks much happier. I ought to take the two out and photograph them side by side for real comparison, but I have no idea where I'd find large enough to do that unless I lay them on the grass and send someone onto a roof or ladder for the photo!

I have the backing for mine (1 of 2), a great vintage sheet with massive floral print in just the right color scheme (I think) but I have no idea what I'm going to do for the backing on his (2 of 2). A large sheet would be the easiest option so I don't have to piece anything together, but I also need to consider something a little thicker for his backing so there's a little more longevity. The easiest option might be to initially back it with a quilt, but make a button on or snap on 'cover' out of something thicker. That would really increase longevity and make repairs a little easier... at least, I think it would...

I may look into spray basting these, but even that will require a space larger than I have, so I know the progress on these has ground to a stop once again. I also suspect these will be easier to work on when I can sit down for more than 20 minutes at a time!

It's taken more than a year to get this far, but hopefully by this time next year we'll be sleeping under them. That might be a little too optimistic... but I like to be optimistic sometimes!

26 June 2015

Oceans Back

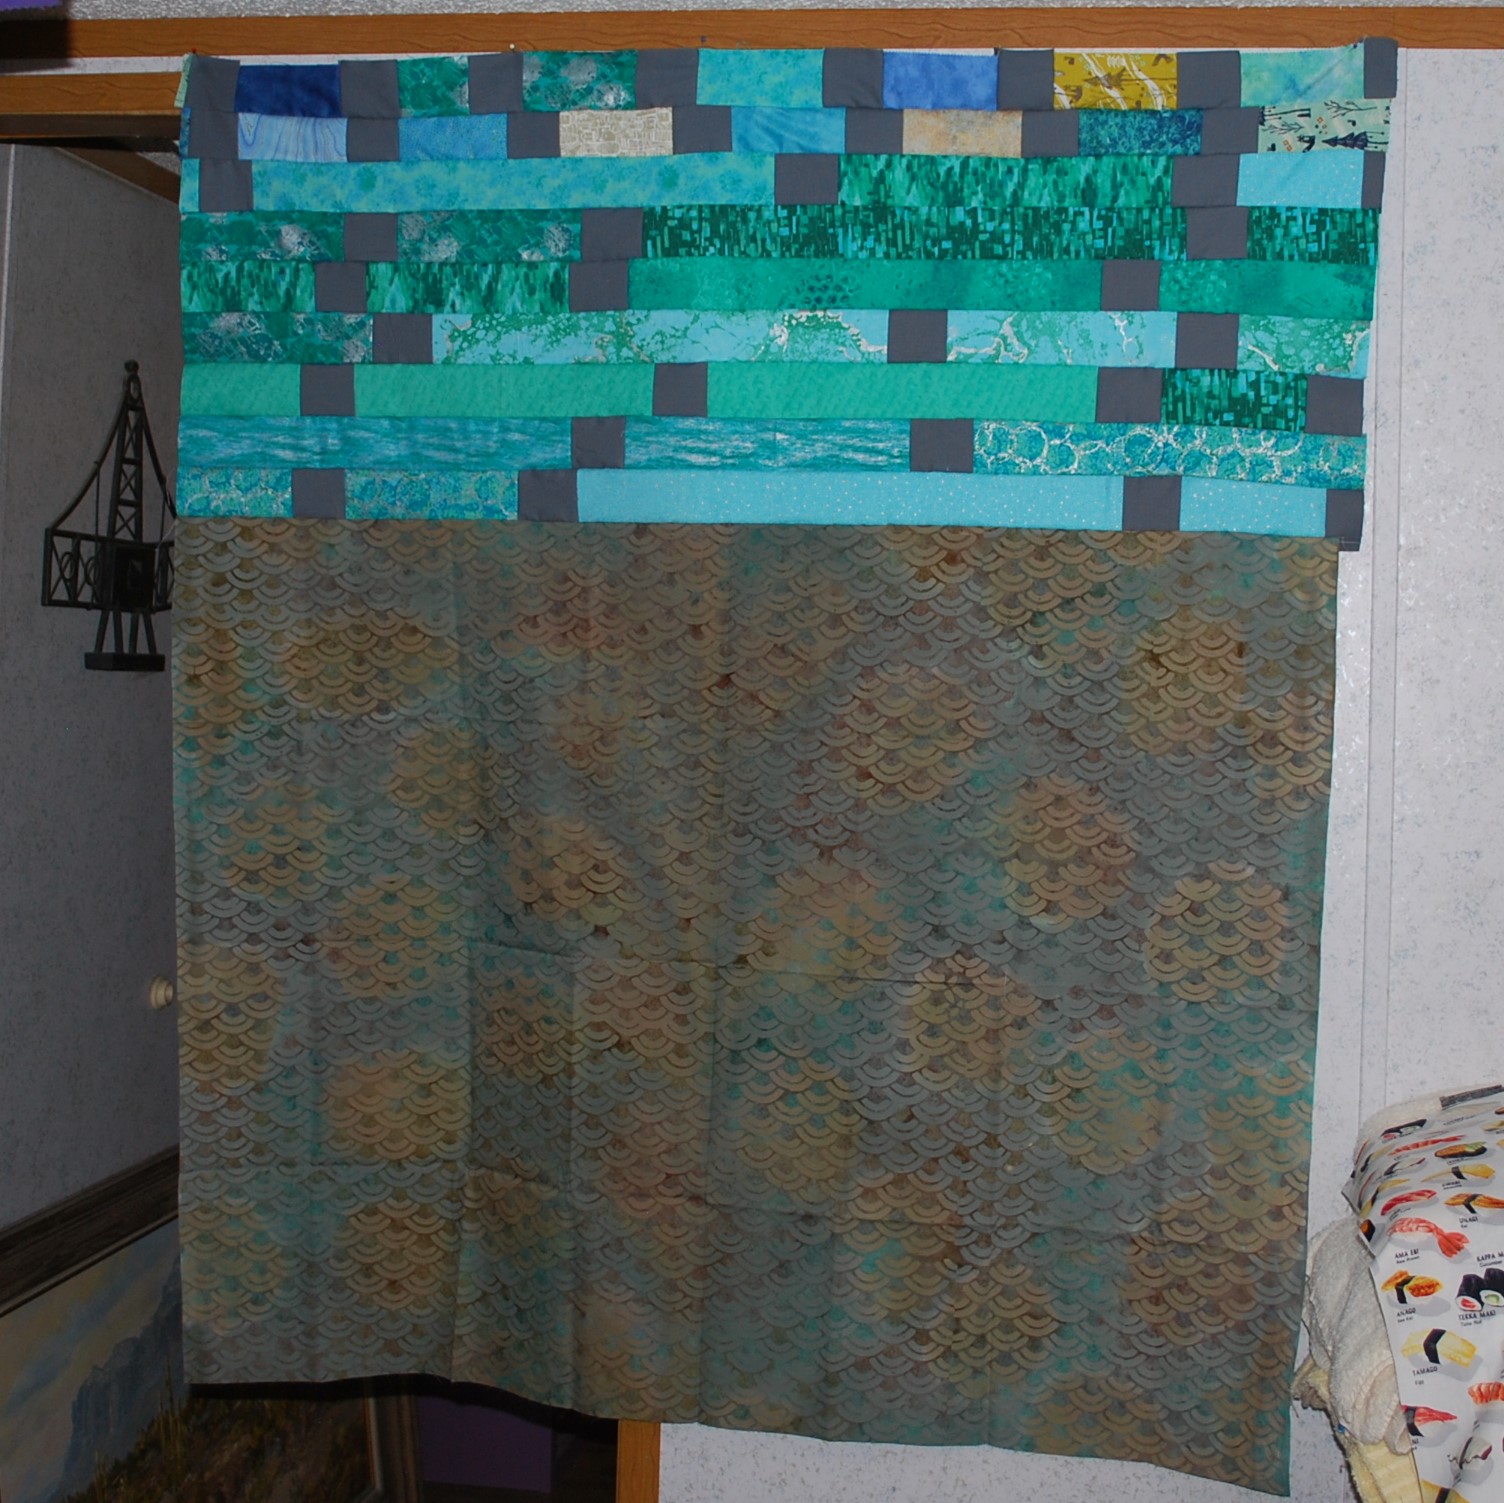
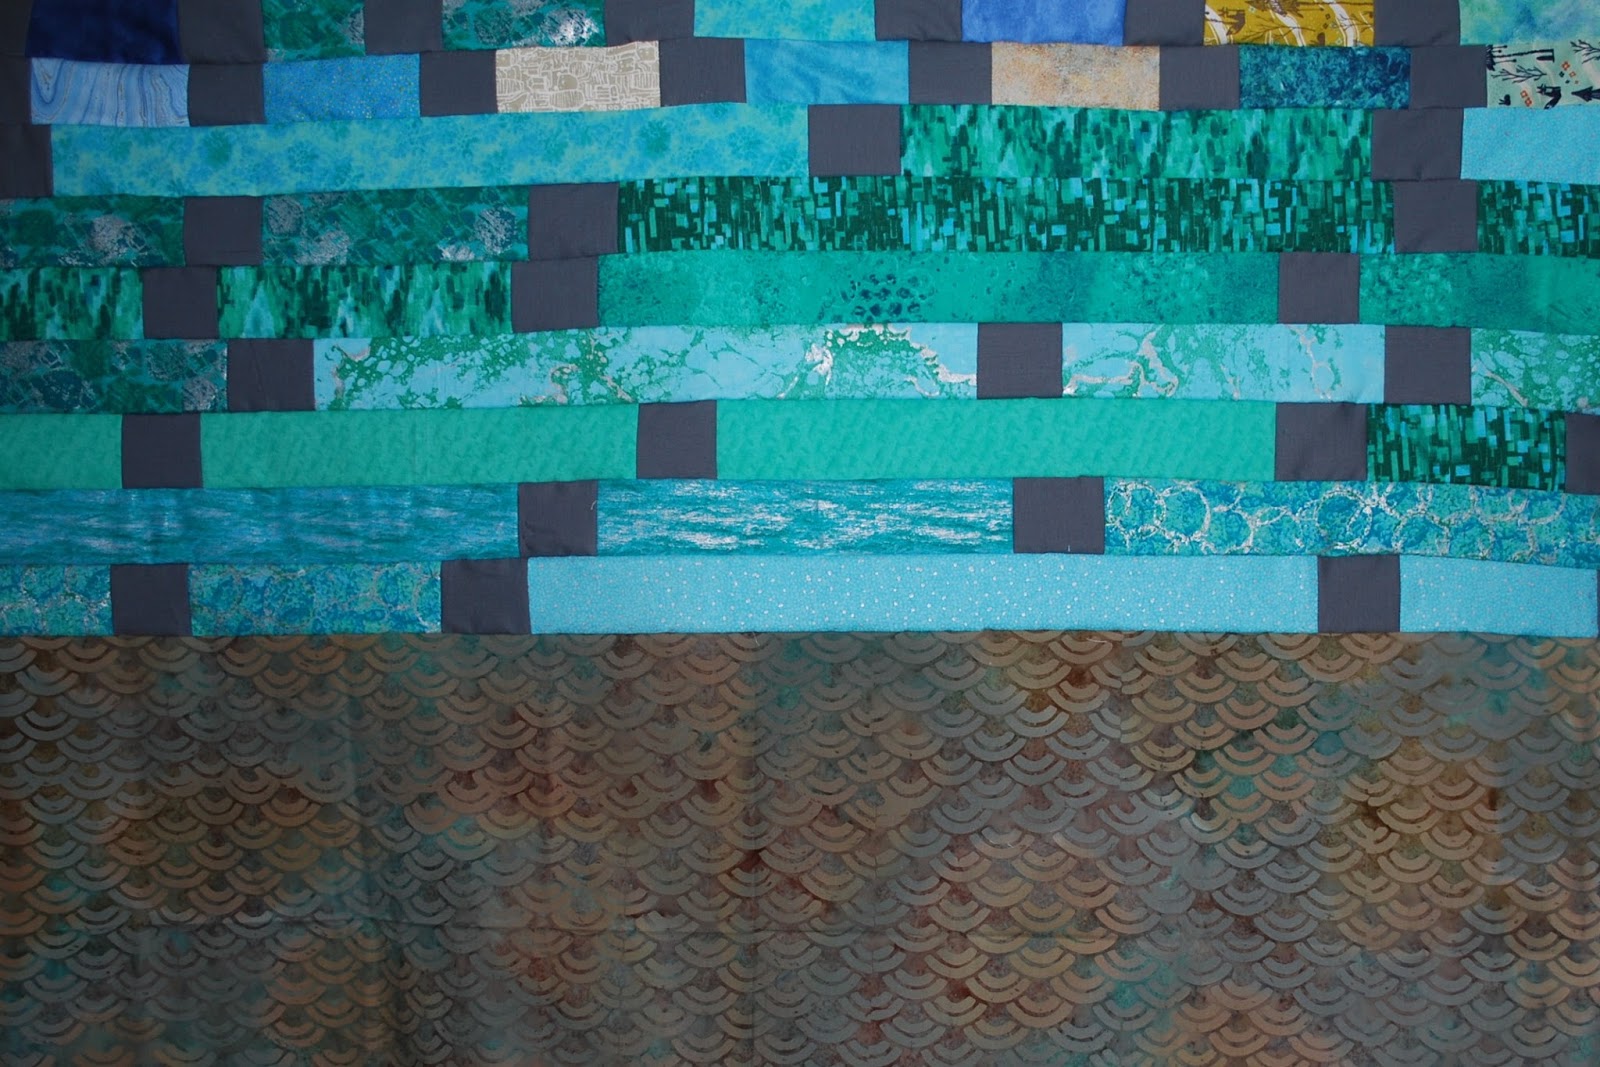
I didn't feel like taking changes on the backing for this quilt, even though I have a lot of novelty patterns that make me think of this particular friend. Instead of going novelty, I decided to go with the coordinating scraps plus a large pieces of batik style fabric from my stash.
The entire thing badly needs ironed, which I'll be sure to do before I baste, but I wanted to get a photo of my progress immediately. Photos of progress help keep me motivated right now... and that's something I've got to use to my advantage -- especially since basting is not my favorite and not the easiest thing to do right now!
I can't tell you how many times I almost got rid of this big batik scrap because I could never imagine what I might use it for. Abstracts and batiks aren't really my style (or, they haven't been in the past) and the gray/brown/blue color scheme was a bit of a stumper as well. Fortunately, I never quite talked myself into giving it away -- because I think it is just about perfect for the back of the oceans quilt. The colors, pattern, and the splotchy aspect all seem perfect for something vaguely ocean inspired.

The scrappy top portion of the back came together quickly, and I really like the overall look, but I am a little worried the higher concentration of seams will make quilting a little more challenging. A good ironing and a pin heavy basting should help -- although I might see if I have enough iron/steam baste batting leftover as well...

It's my goal to get this basted either tonight or tomorrow, and quilted asap. I'm thinking simple line quilting, maybe a 'shattered' kind of look (random lines all the way across) or something else simple and easy. Then again, when do I take the path of quick and easy?

25 June 2015

Ocean Top

I spent a few days trying to decide how to finish the top of my latest quilt, since the 'single block top' original idea didn't work out thanks to my very faulty math! There were a few options, from solid gray borders all around, to stripes, to trying to do an improvised medallion style finish.

It should come as no surprise that I did not go with the easiest finish -- which would have been the solid gray finish. I could have, I suppose. It would have been fastest and easiest, but it also felt like a compromise -- and not one I wanted to make for this project. So, no surprise, improvised medallion-inspired style it is.
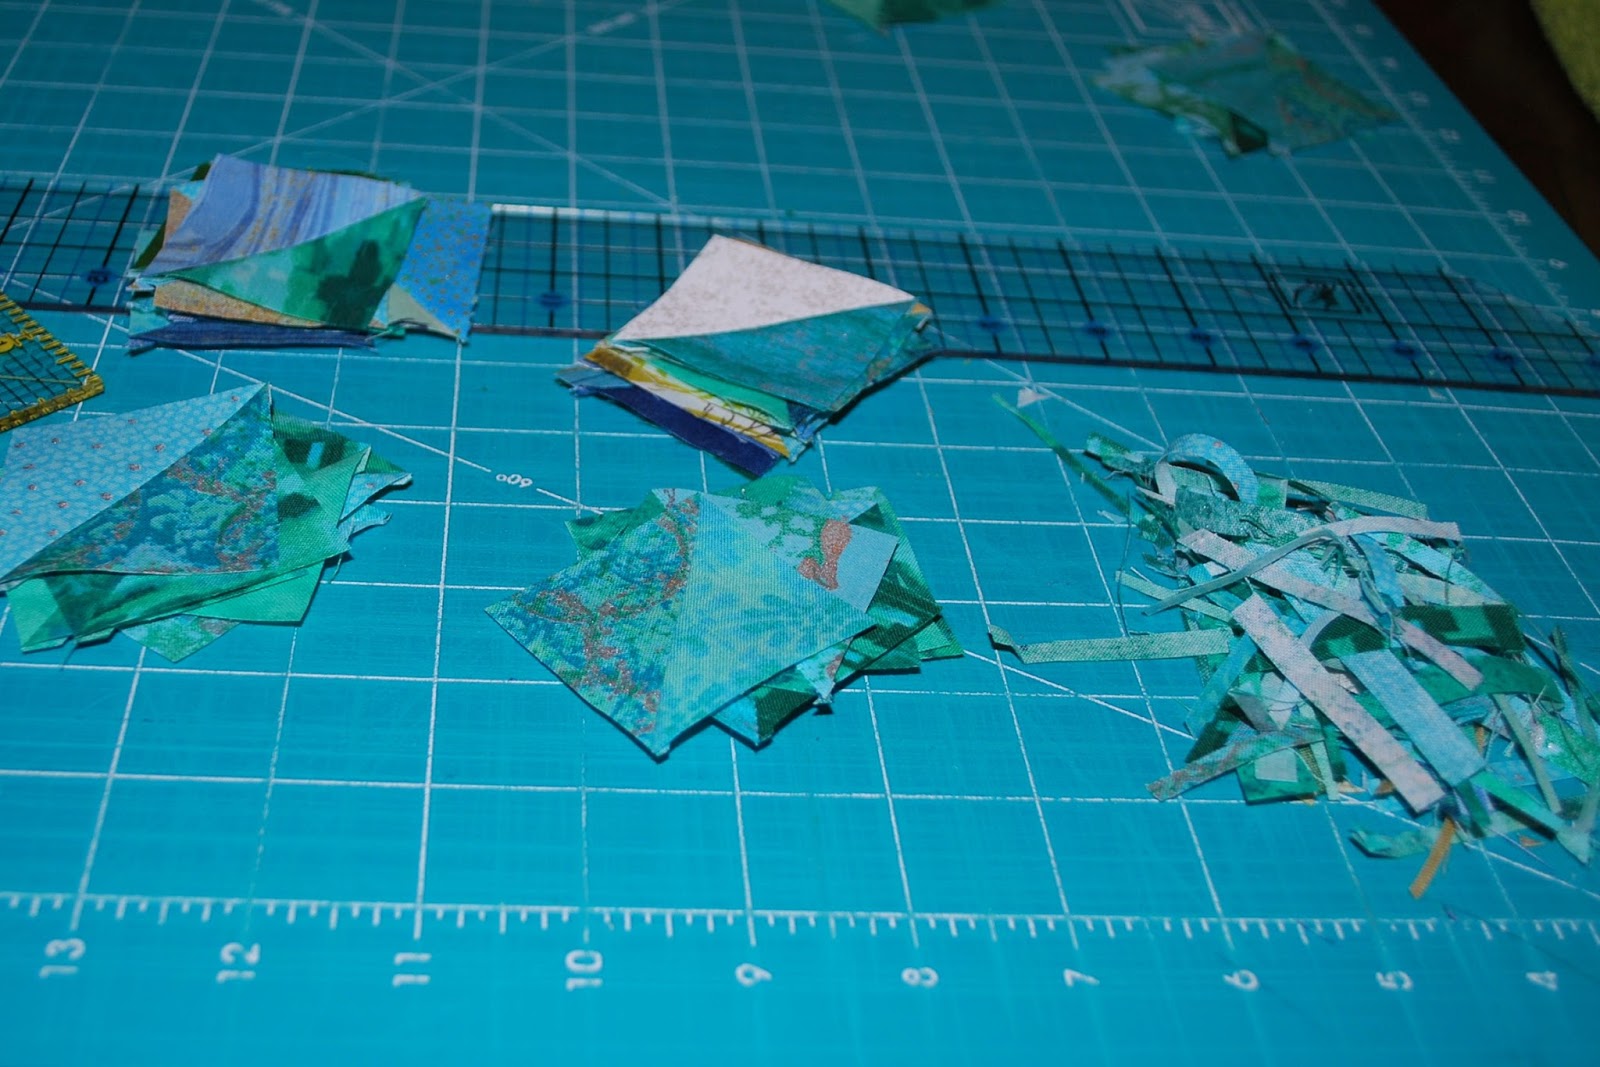
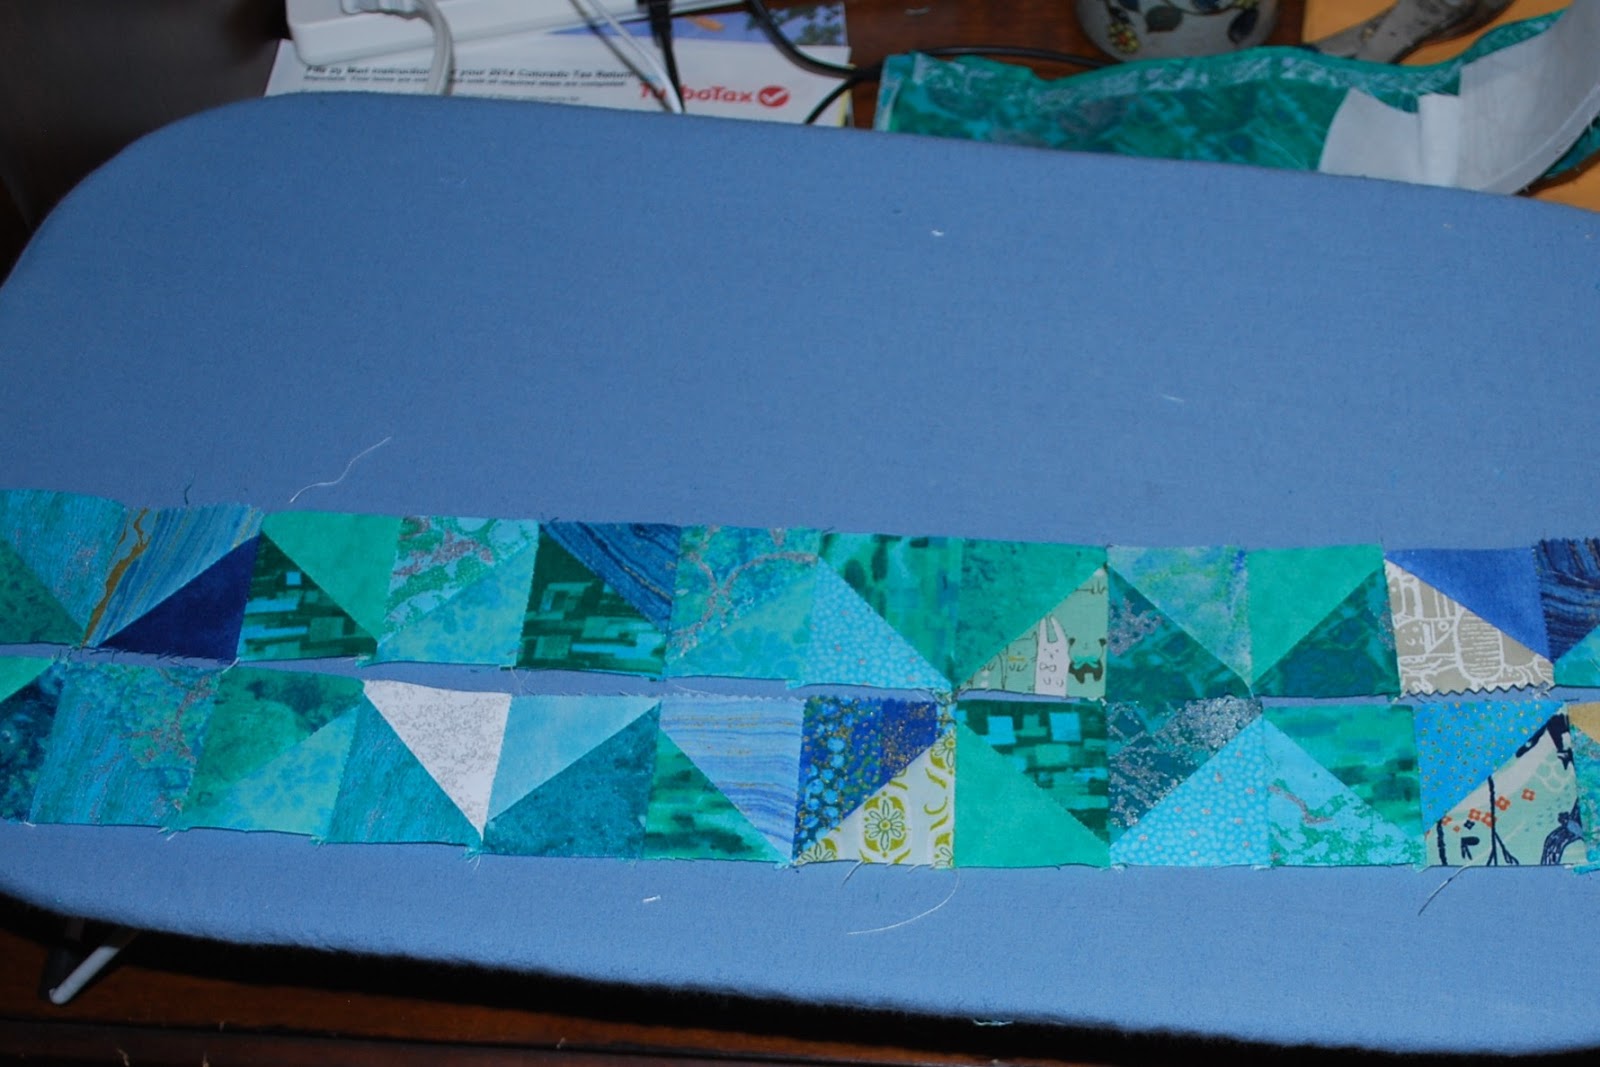
Another long round of half square triangles, trimmed down to 2" squares.

The trimming and squaring up took hours -- especially since I had to take a break in the middle of it to go to urgent care* -- and I wish I had better results to show for that time. While things still aren't perfect, I'm still fairly happy with the outcome of the border.

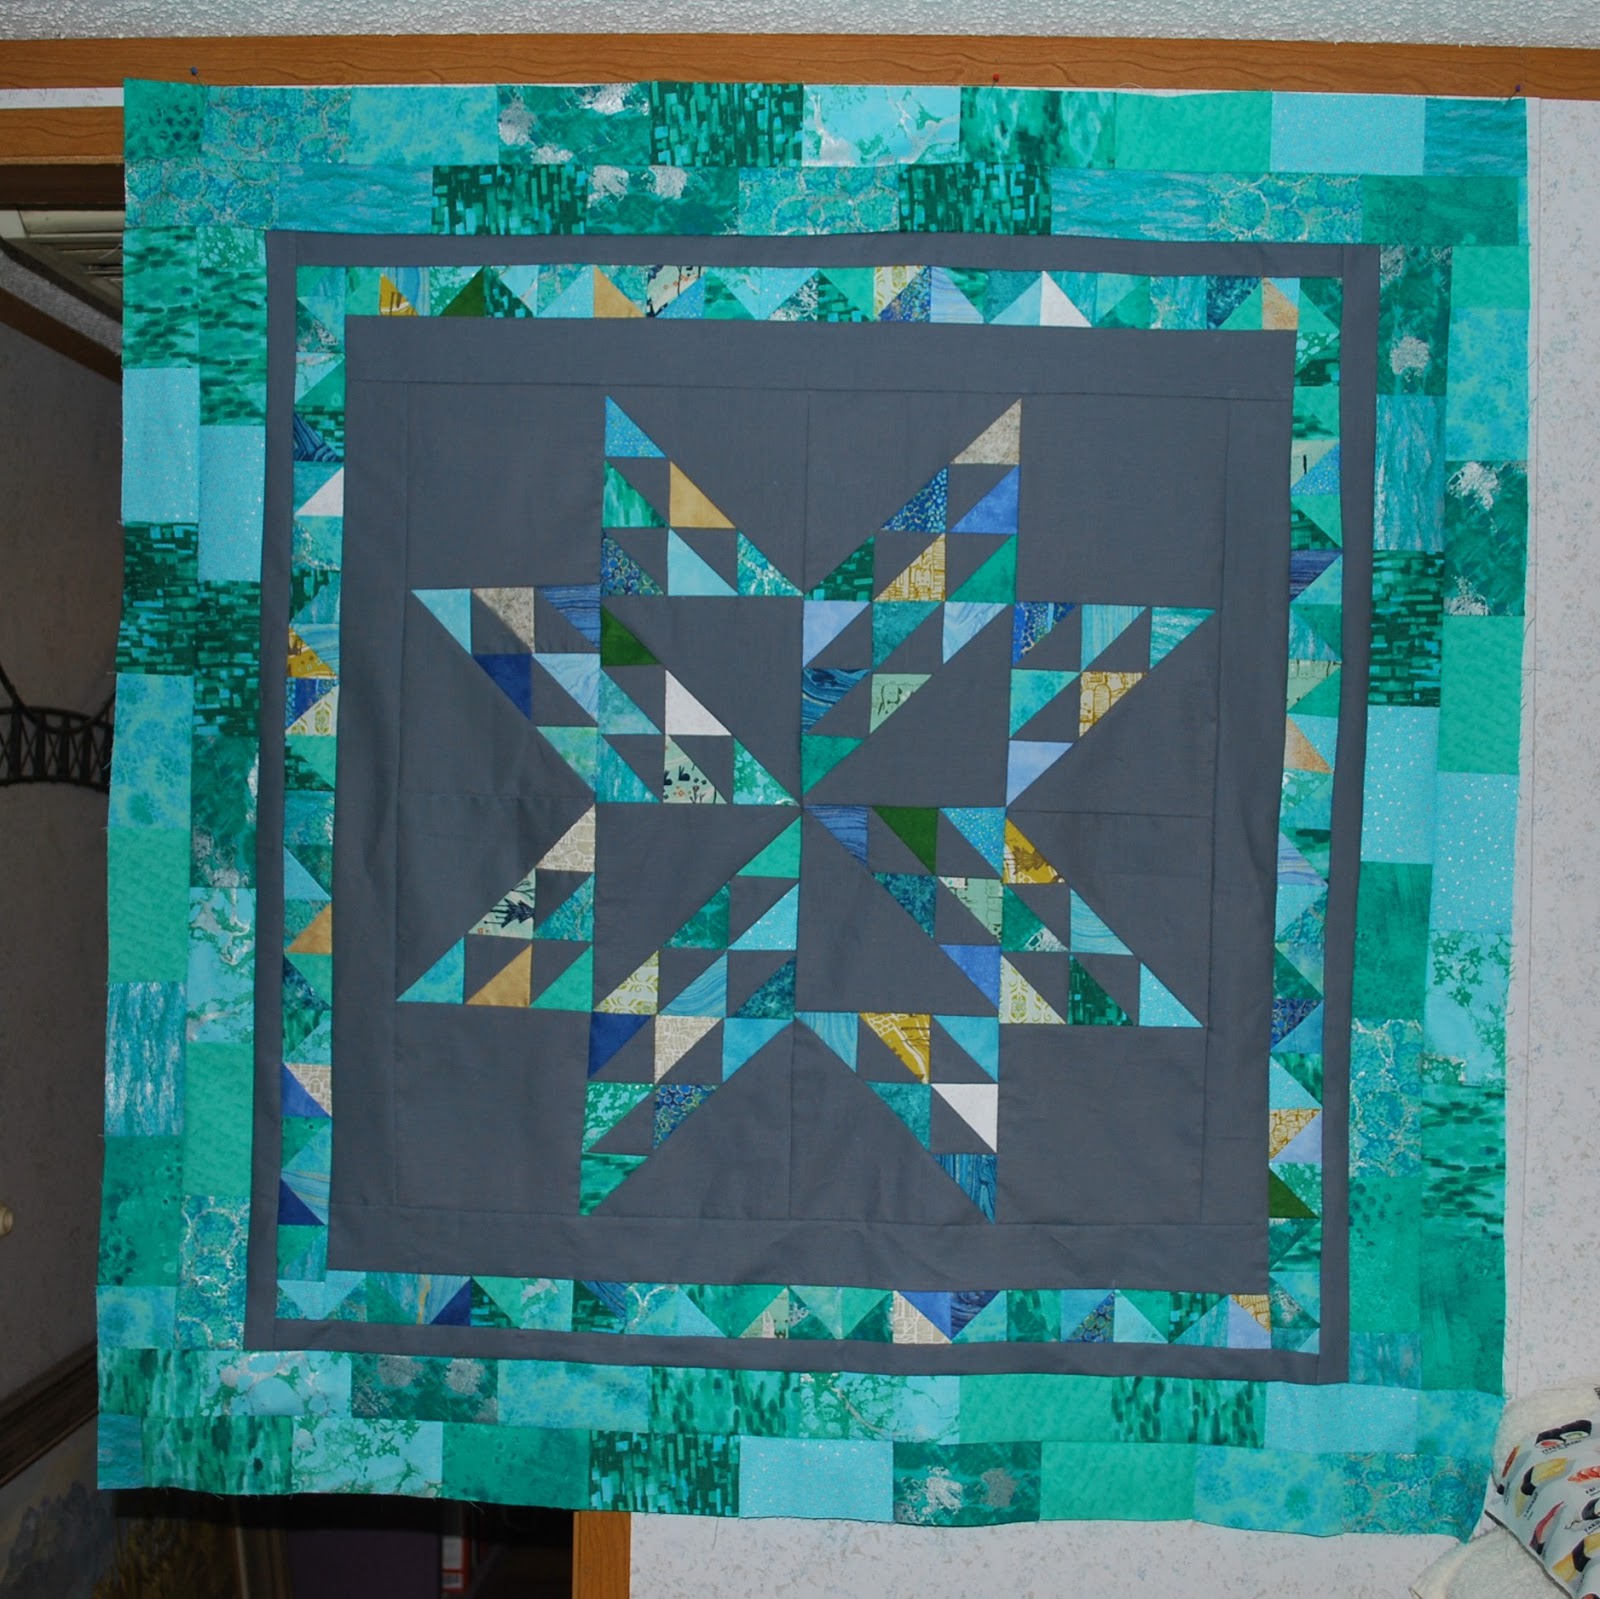
So here's where I'm sitting right now:

So far, the top is just about 42 inches square. I feel like it needs another round of gray to finish it off, but think I might be best served to bind in gray instead of adding another 1.5" strip around the outside. I don't have enough fabric to do any more than that. For such a small addition, the binding might be just as good, and it would be a little easier and faster at this point.

As I've been working on the triangles and bricks, I've also been debating what kind of backing to make for this quilt. I could go scrappy and use the leftover jelly roll and charm pieces, as well as some of my mis-cut gray pieces. I have a few other batik style pieces in my stash that I could mix in with these charms, giving me something very scrappy but fairly coordinating. This might look good, but I worry it would be a challenge for basting and quilting -- a challenge I'm not sure I'm up to taking on right now.

I could also go with something that doesn't coordinate at all, maybe cars, the 'right' sports team (I do have some of that fabric I've been sitting on for this project, but now I'm not so sure it'll work), or something else that makes me think of my friend and/or her family...

Decisions, decisions.


* Urgent care visit was all about this lovely upper respiratory infection and conjunctivitis I've come down with. I was trying to ignore the cough, but once my eyes start acting up I am looking for medical attention immediately. So, a few days of antibiotics and eye drops and I hope to be good as new -- or at least as good as I can be at this point in the pregnancy... which I think is the point of 'I'm not ready but I'm so done with this!' Here's hoping I can recover from this sickness before baby decides it is time to get here. Even better if I can get a couple nights of actual sleep first too!

23 June 2015

Make it Work!

Hahaha -- a few days ago I showed the finished product, talking about how I forgot to come back and show the finish. Turns out I never shared the beginning! 

I have been drooling over Elizabeth Hartman's Hazel Hedgehog pattern for ages, and I bought it for myself / baby projects over the winter holidays. Then, it just kind of sat around and waited for me to get back to it. Honestly, it was a little overwhelming and life was just too busy.

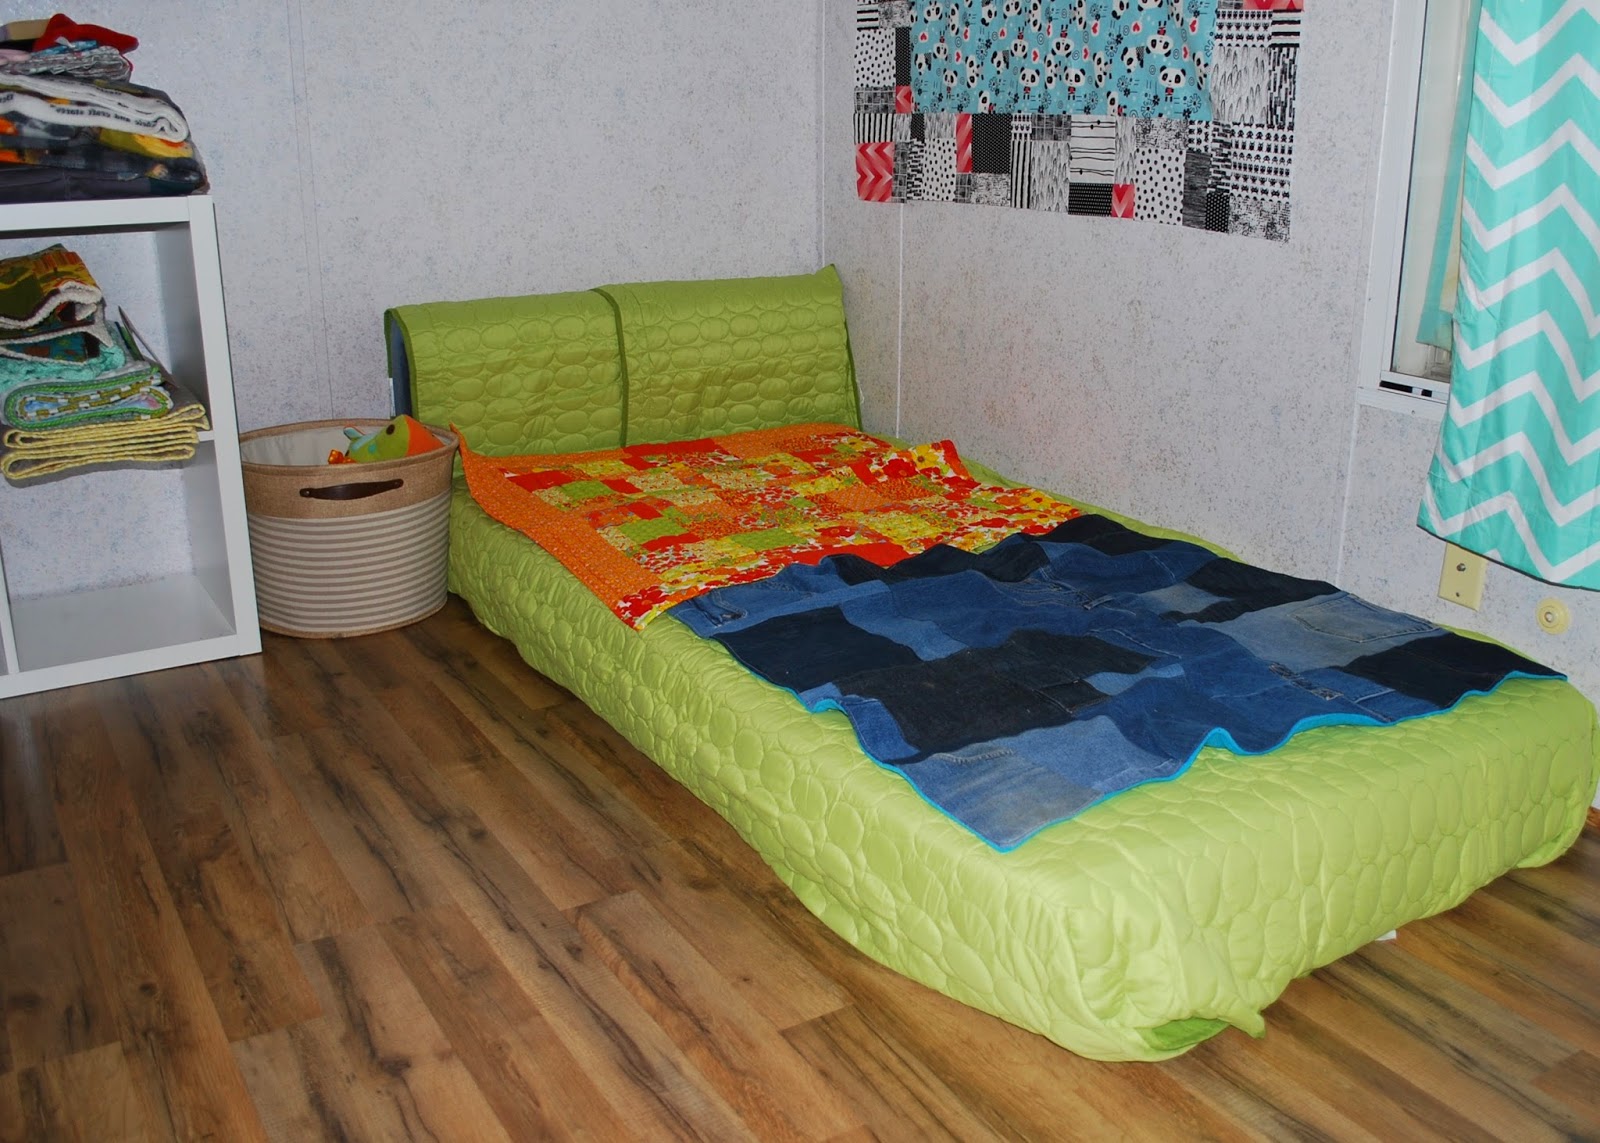
Over the weekend, we managed to get out the last of the excess furniture and bring in the mattress for the nursery, so the room is beginning to come together.
We'd planned to put up some prettier wall paper over the mobile-home-standard splotches I hate so much, but after the first application of removable sticker style wall paper had so many issues I was about to scream, we're back to bare walls. on both sides of the mattress. That just doesn't seem fun.

My goal is to keep the lower area clear so it can be safe for sleeping, and so I can put up pictures for him to look at during awake time, but I want some art work at a slightly higher level for color, interest, and... well, my sake. We'd been looking at various art pieces and debating what would work when suddenly I remembered Hazel Hedgehog. A few mini quilts as over the bed decor seem like the perfect solution. In theory, I have time and supplies. I might even have a few already made that would work. And, no worries about weight, falling, or clean up as life invariably happens to the room.

So, last night I pulled out Hazel Hedgehog's pattern and got to work.
Tip #1 -- I should have printed the pattern, or at least some pages of it, rather than thinking I could just scroll through the digital version. Flipping pages on the computer was confusing.

Tip #2 -- I should have labeled all my cut pieces. I grabbed what I thought was the right piece, only to later learn it was the wrong one, but by then it was too late to un-do my mistake -- more so because I was working with really limited pieces of fabric than because it took me that long to figure it out!

So, I had a make it work moment in which I trimmed down the hedgehog's face to match the improperly made legs. Which later meant I had to trim down each of the spines to make them the "right" size.

In the end, my hedgehog has slightly chubby legs, and is a little taller than wide rather than being something closer to square, but I think it turned out adorable anyway. Right now it's about 21 x 17, but I think it'll lose a little more size after quilting and squaring up. I've got it basted and ready for quilting -- as soon as I figure out what is going on with my machine's tension.

There were some horrible noises last night as I was piecing the block, and I finally opened up the machine to search out the problem.
I've never seen this before, but apparently the thread company just ties on a new piece and keeps going when the thread isn't long enough for their requirements. Unfortunately, this really changed the tension I was sewing with, and even after cutting out the knot and re-threading my machine, things are still unhappy. I don't know if it is my freshly wound bobbin (from the thread before the knot) or if the thread after the knot is really that different in tension, but things just aren't right. I'm hoping to figure it out yet today. I want this hedgehog finished and up on the wall!