30 June 2014

27 June 2014

Pnterest Challenge: 2 Ingredient Brownies

My second new recipe for the month was 2-Ingredient Nutella Brownies, from thekitchn.com. These went immediately into my 'make it soon' board, despite having spent nearly two months working hard to reduce the amount of sugar I've been eating. I knew if I made these while we had company, I wouldn't be faced with eating half the pan -- both my husband and one of our regular guests are huge chocolate fans, maybe more than I am or ever was!

Since the recipe suggests it should take 7-8 minutes to whip the eggs into the right size, color, and consistency, I didn't have Greg start working the Nutella right away. This was a mistake. I was using an old electric hand mixer, and the eggs were easily triple their original size within three minutes. I think by the time the Nutella was melted and ready to add to the mixture the eggs might have been larger than that!

My baking pan was small enough that I was able to completely line it (roughly) with baking paper. It wasn't pretty - but it seemed to do the job well enough.
In my gas oven, it did take longer than 30 minutes for the toothpick test to come out clean, I'd say more lie 40-45 minutes. I know some people really like gas ovens, I'm just not one of them I guess; I can't seem to adjust to the differences -- though if I ever get another electric I don't know what I'll blame my issues on... Maybe the high altitude has something to do with the differences I sometimes encounter when baking or cooking...

After letting it cool for 40 minutes (during which we all had to leave the house to avoid temptation), we cut in to it. Sine it was fully surrounded by the paper, I was able to lift it out of the pan completely before cutting and serving. This helped keep the pieces neat rather than looking like I dug them out with my fingers...
I almost forgot to get a photo before they were all eaten!

All six of the tasters agreed that the brownies needed nuts - both for a little more flavor and a little more crunch. I really enjoyed the mellow flavor, and thought that both the fudge style inside and the crispy top were fun textures. My husband and I both were impressed with how easy this was to make, despite the wait time to allow for cooling (something I am never patient enough to allow for). These did all disappear quite quickly, before our seventh would-be-taster even had a chance to try them. I'll let him try again next time I make these -- which might be tonight!

26 June 2014

Pinterest Challenge: Tatertot Casserole

It's been a while since I last tried a new recipe, so I thought I'd attempt two new things this month. I tend to pin whatever looks good, and later come back to see if it's something I'm interested in ever making, so about twice a month I go through my pin boards relating to food, desserts, or crafts to delete what I'll never ever attempt (no matter how it looks or sounds). If I come across something I want to try in the next month or two, I repin it to a private board that runs more like a to do list than anything else. With both the recipes I tried this month, they went directly onto the 'to do list' board.

First up was the delicious looking Taco Tater Tot Bake recipe from blogchef.com.  Tater tots, enchilada sauce, and cheese? What more could I ask for!

We made a couple substitutions - going with ground turkey instead of ground beef, and using crispy crowns instead of true tater tots. And one unintentional issue when I forgot to stir the cheese in before putting the mixture of potatoes, black beans, corn, and meat into the baking dish - so my cheese is just kind of clumped on top instead of quite as mixed in as it ought to be.

I had one comment that it was spicy (from the same person who always finds enchilada sauce spicy, even when I buy the mildest option) and I thought it was a little salty (next time I'll probably skip the taco seasoning in the ground meat, I don't think it was noticeable under the sauce except as extra salt) - but overall it was really good. I think three out of four people had seconds, and I even had the rest as leftovers the next day. The potato pieces didn't hold up well as leftovers, but the flavor might have been better the second day. It's not quite as easy as I'd like - having to take an additional pan for browning the meat - but it was relatively fast and very delicious. Will be fixing this one again.

Update: Random Reflections 1 of 2

I have finished making 10.5" strips -- finally. It felt like I would be doing that forever, but it really only took about 6 hours (including ironing time). Instead of aiming for four 10.5" strips from each of 40 materials (as the recipe calls for), my goals was to get 6 from each of 42. I didn't quite make it, but I knew that would be more than I needed. A few strips only managed 5 pieces, while others made 7, so I think the total averaged out to be what I was aiming for.

Piecing together the strips into blocks was easy after making all the strips! The only 'rules' I cared about were avoiding identical patterns next to each other and avoiding identical heights next to each other, so this was idea for a sloppy kind of never ending piecing. I would do a couple pairs, then pull one off to turn into a trio, another pair, then match one of the pairs and the trio into a set of five. This way I never really quit piecing, but I didn't end up with a huge string of 2s or 3s either. About every 4th set of stitches I was completing a 5 wide block.

I took some measurements off my current quilt, which is about 53x86 and realized that I needed to make some of my blocks 7 strips instead of 5, but other than that everything came together quickly. Ironing all the seams in the same direction took a couple hours, but was well worth it again.

Again following only my two rules, I pieced together my blocks into super long strips. Each of these longer strips is made of five 5 strip blocks and one 7 strip block. I have nine total long strips that will be attached together into random reflections (plus one that won't have a reflection) to make the length of the quilt.

According to my math, my entire top will be made up of 288 strips. The recipe's 60x60 quilt calls for 180 strips! Although I have quite a bit of leftover solid, my print leftovers at this point are very, very slim:
the leftovers
Four tiny strips - plus two 1" or smaller pieces -- pieces too small to use. I suppose one could make 1" print 9.5" solid strips, but I found that 2.5" print was about the smallest I wanted to go, just for my aesthetic. I did make a couple 10" print strips, but found that was really too long. I tried to keep most of my print strip pieces between 2.5" and 9.5"

I've tried to keep my seam allowance accurate throughout, but as I've been matching up seams to make the reflections, I'm realizing that I was nowhere near as accurate as I'd hoped. There's a surprising amount of give and take, especially once I get to the solid on solid part. I think this solid has more stretch than the prints, something that worries me for the future (both quilting and wear). I've had to go back and tighten a couple seam allowances to make things line up, but out of 288 strips, three or four fixes isn't too bad. I'm planning to do my best on the print meets print seams, but not to stress much over the solid to solid seams when I begin piecing the reflection dual strips into the full top.

I did lay out my strips and check for any random reflection print overlap -- I did not want the same print on both sides of a seam so it looks like one long piece instead. Fortunately, I was able to avoid any overlap without having to make any changes. I did have occasions with overlap, but I was always able to rearrange the long strips away from that. Wrapping up the top of my Random Reflection quilt (what I'm temporarily calling "1 of 2") is within sight -- and after what seemed like a never ending few days of making the 10.5" strips, I couldn't be more excited to be seeing real progress!


19 June 2014

Beginning Again

It's been more than a year since I thought I'd start on quilts for our bedroom. I picked out fabric, bought coordinating solid, spent hours working the math and making practice blocks, and then once I had a plan and a general layout... I quit working on it. I did have a lot of other things that needed to get done, but ultimately, it was easy to push this one to the back burner. Then, in a surprise move, we changed around our house and wound up with a different bedroom - one that gets very different light and doesn't work at all the way our old one did. And suddenly, I just couldn't bring myself to complete the plan I had spent so much on already.

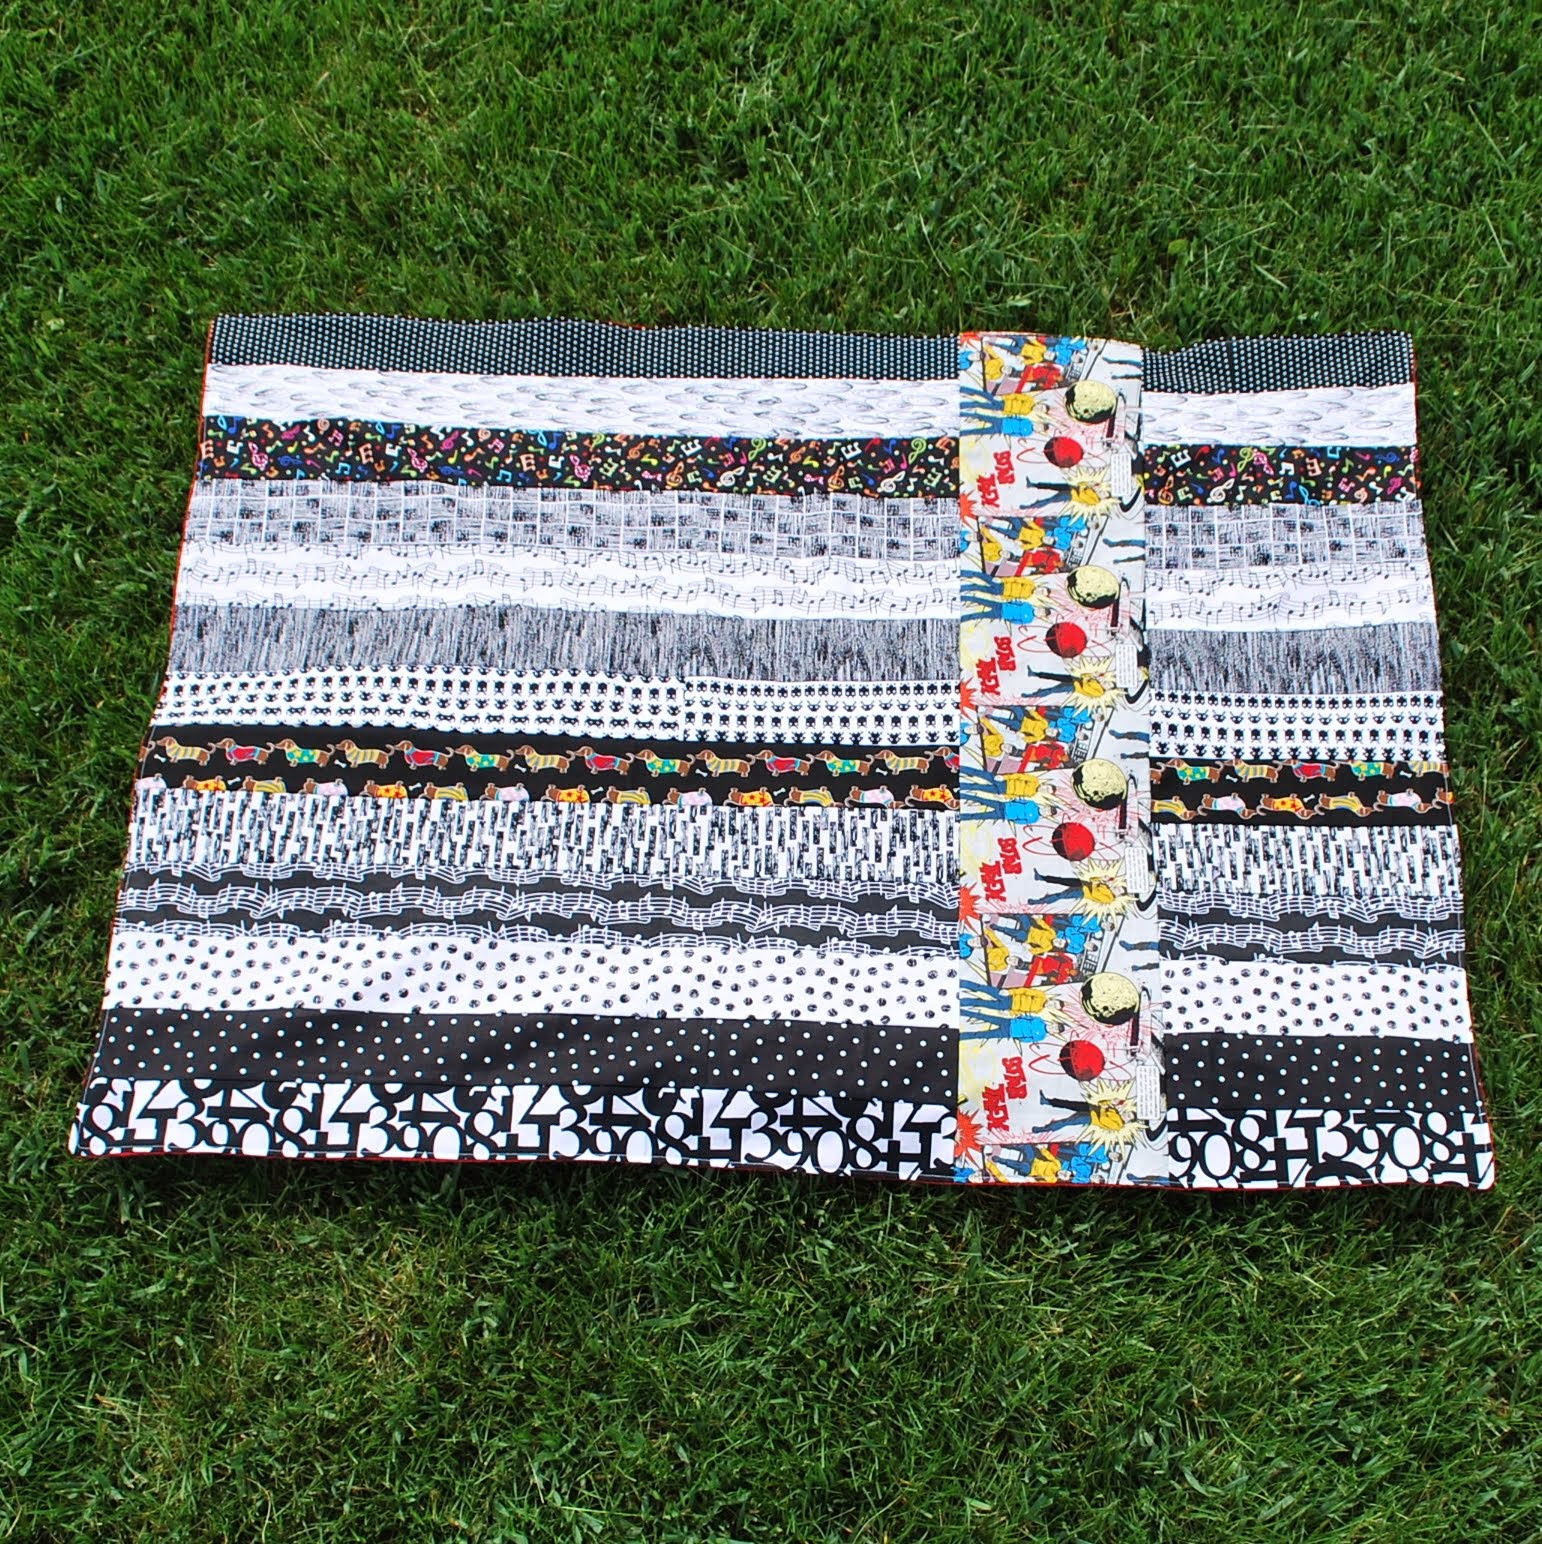
I poured over my Pinterest boards, and searched for new inspiration, until I found three options to run past my husband -- who honestly liked them all. So, I chose the one I had pinned most (six times for the same pattern, though different quilts): Random Reflections from the Moda Bake Shop. The directions there are for a quilt that finishes at 60x60, but I'm going to make mine about the size of an XL twin, more like 50x80. I think that should be possible with only a minor change or two.

The starting point on this was to go back to shopping - and believe me, finding jelly rolls that fit both of our personalities and fit within the colors of the room was a struggle. Ultimately, after too many hours browsing etsy shops and the Fat Quarter Shop, I wound up choosing to go with two different jelly rolls to go with our two different personalities, and our two different paintings.
Our bedroom looks something like this (this is a picture from day 2 of the new room), with my great-grandmother's forest stream painting on my side of the room and his grandfather's stormy ocean painting on his side. Since we both use twin comforters unless it is cold enough to necessitate the XL King comforter (in which case I usually use it doubled over and he's usually fine), I figured I could make the same pattern of quilt in colors that more or less went with each of our paintings - though I'd add a little orange and green to his so there was more coordination.

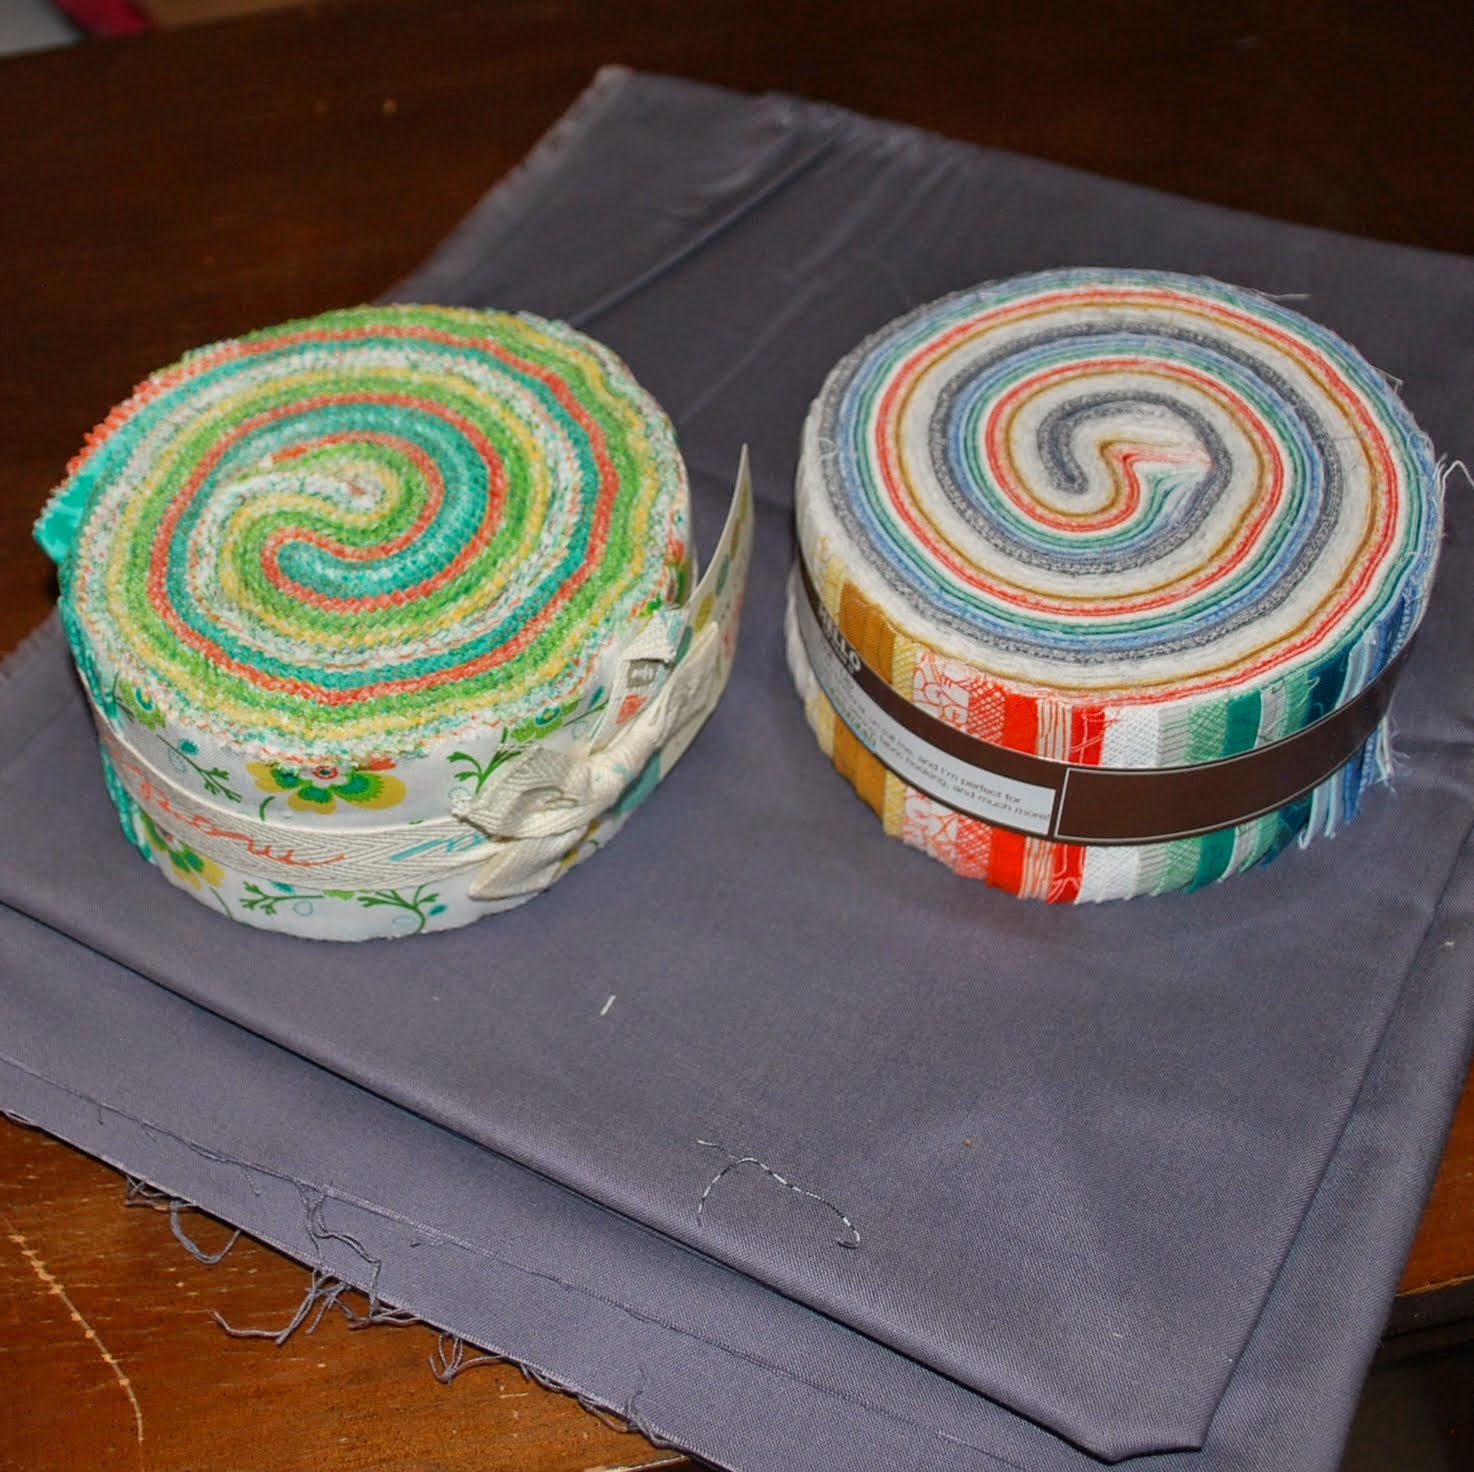
Ultimately, I wound up ordering one jelly roll of Lily Ashbury: Folklore (which must be very new as I'm struggling to find many places to link to so I can show how beautiful it is! This link goes to a view of only the peacock tones) and one of Carolyn Friedlaner: Botanic. I'm going to stick with the same grey solid I purchased to use initially, and hope that the brighter, less primary (than my previous choices) colors of these two rolls will work for what I'm after.

I do think I'll need to add a little more deep blue or deep green to 'his' roll (the one on the right). I may also cut one or two from the mustard/orange tones, but I think it'll work out overall - and if it isn't quite as perfect a match to his painting as Folklore is to mine, he probably won't mind either. Oh, and the grey solid is 'for' his painting, so that's a point in 'his' side's favor -- one that I'm just going to make work for my side.

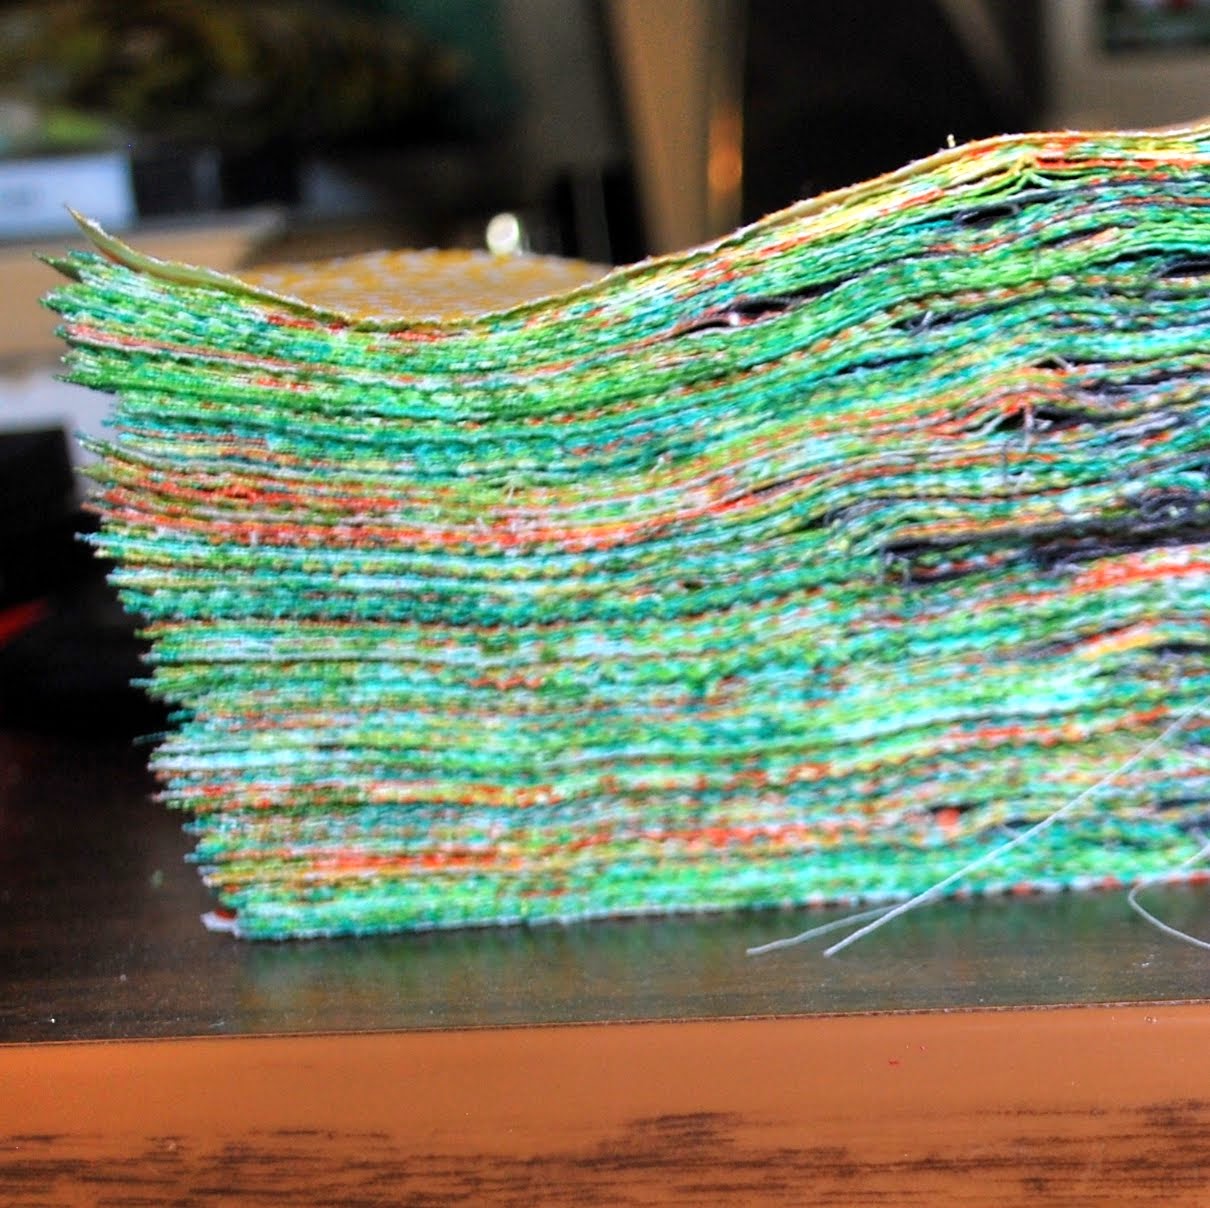
I could hardly wait to start, so I cut into the solid right away - and although it's taken much longer than I thought it would, I'm making progress!
Approximately 180 2.5 by 10.5 strips -- enough for the 60x60 tutorial quilt, but not enough for my desired twin quilt. Fortunately, I have lots of fabric left, so I think it'll be fairly easy to make the additional strips I need.


It doesn't look like much for more than 4 hours of work - but I've been making certain to iron each piece instead of just finger pressing like I normally would. I really want to minimize issues and end up with two quilts that will last for a very long time. Hopefully I'm far enough ahead on baby projects for everyone that I can take a few weeks off and concentrate mostly on these two quilts. I'd love to have them finished before summer is completely over, though that's a lot to attempt on my current schedule.


18 June 2014

Summer Scenery

This year the large scale mowing has been a little late to happen - and while the extra mice, voles, and mosquitoes hiding in grass as high as my waist hasn't been fun, I have loved being surrounded by a sea of green. 
It won't last. In fact, I think that's the chugging of the large mower I hear headed my way right now. If so, I bet the sky over us will be filled with hawks by noon - and hopefully we'll be short a few mice by night fall.

13 June 2014

Black & White and Red All Over

While the Sweet Serenade quilt is from me to the future Baby D, Greg had an idea for something a little bolder and nerdier for the bound-to-be-a-future-nerd Baby D. We picked out a few fabrics that he thought both parents and baby might like -- mostly in black and white -- and added some Star Trek fabric (not the right generation, truthfully, but we didn't have time to order something else). I searched Pinterest until my creativity was stirred, mainly by these: 1, 2, (links go to the sites, not Pinterest).


I think the result is a lot of fun -- and I love the bold contrasts and graphic elements. I probably wouldn't have chosen most of these fabrics without Greg's help, but I love the result. I chose 3 inches as a width for the strips - and sewed together all our choices until I was happy with the width of the strip top. Then, I took a completely random approach to where I cut the strip top open and how wide of a focal fabric (Star Trek piece) I added. I had initially planned on adding a wider piece with this piece being the left over, but it was much too large (nearly 11 inches) while this started at about 8 inches.

For backing, we went with a red minky fabric - mostly to go with the Star Trek fabric, but it looks good with the other colorful prints as well. I love the soft finish minky gives to blankets and quilts, but I am not particularly confident working with it.
Working with minky is sometimes a real slippery problem and sometimes goes smoothly. After a bad experience last week (which I have yet to share), I did a lot of straight pinning on this one before sewing the two layers together. I not only pinned around the edges (which I always do when working with minky or other slick fabrics) but also in several places throughout the center of the layers. While this extra pinning did almost end up with one pin getting left in when I turned the layers outside-out, it was hugely helpful in keeping everything lined up. I didn't have any issues with things sliding around or being out of place -- a huge improvement over the last one which wound up off by several inches after only a few stitches!

I have yet to wash it - which honestly, I'm terrified of doing, but better an issue pop up on my watch than on the new parents' time! Once it's washed, it's ready to join the rest of the Welcome Baby D package. Assuming the washing on this turns out alright, I have two snaps to install, two bibs to wash, and then some wrapping up to do and the Welcome Baby D package will be ready for delivery. Whew!