 |
| Stack A in front, Stack B in back |
I mixed the strips up in a not quite random order. I wanted a distribution of each of the color schemes throughout, but I didn't let myself get focused on which patterns were next to which, or which colors were next to which. When I felt like the order was fairly well mixed, I started sewing the strips together.
 |
| Some of that silvery/gray is my ironing cloth |

Eventually I wound up with all the strips pieced together, and all the seams pressed open. You'll notice that I did work to keep the selvage ends all on one side, which was about the only truly intentional thing I did in piecing these strips. It was my goal to only have to trim off one side to even things up - though you can see that didn't quite work out, but close.
Next stop? Back to the cutting board!

It was my goal to use two 5 inch wide strips and two 2.5 inch wide strips, which left me one larger strip, just about 6 inches, for adding to the scrappy back. It seemed perfect - my math suggested I would need 5.5 inches of scrap to add to make my plan work. Notice the tense there?

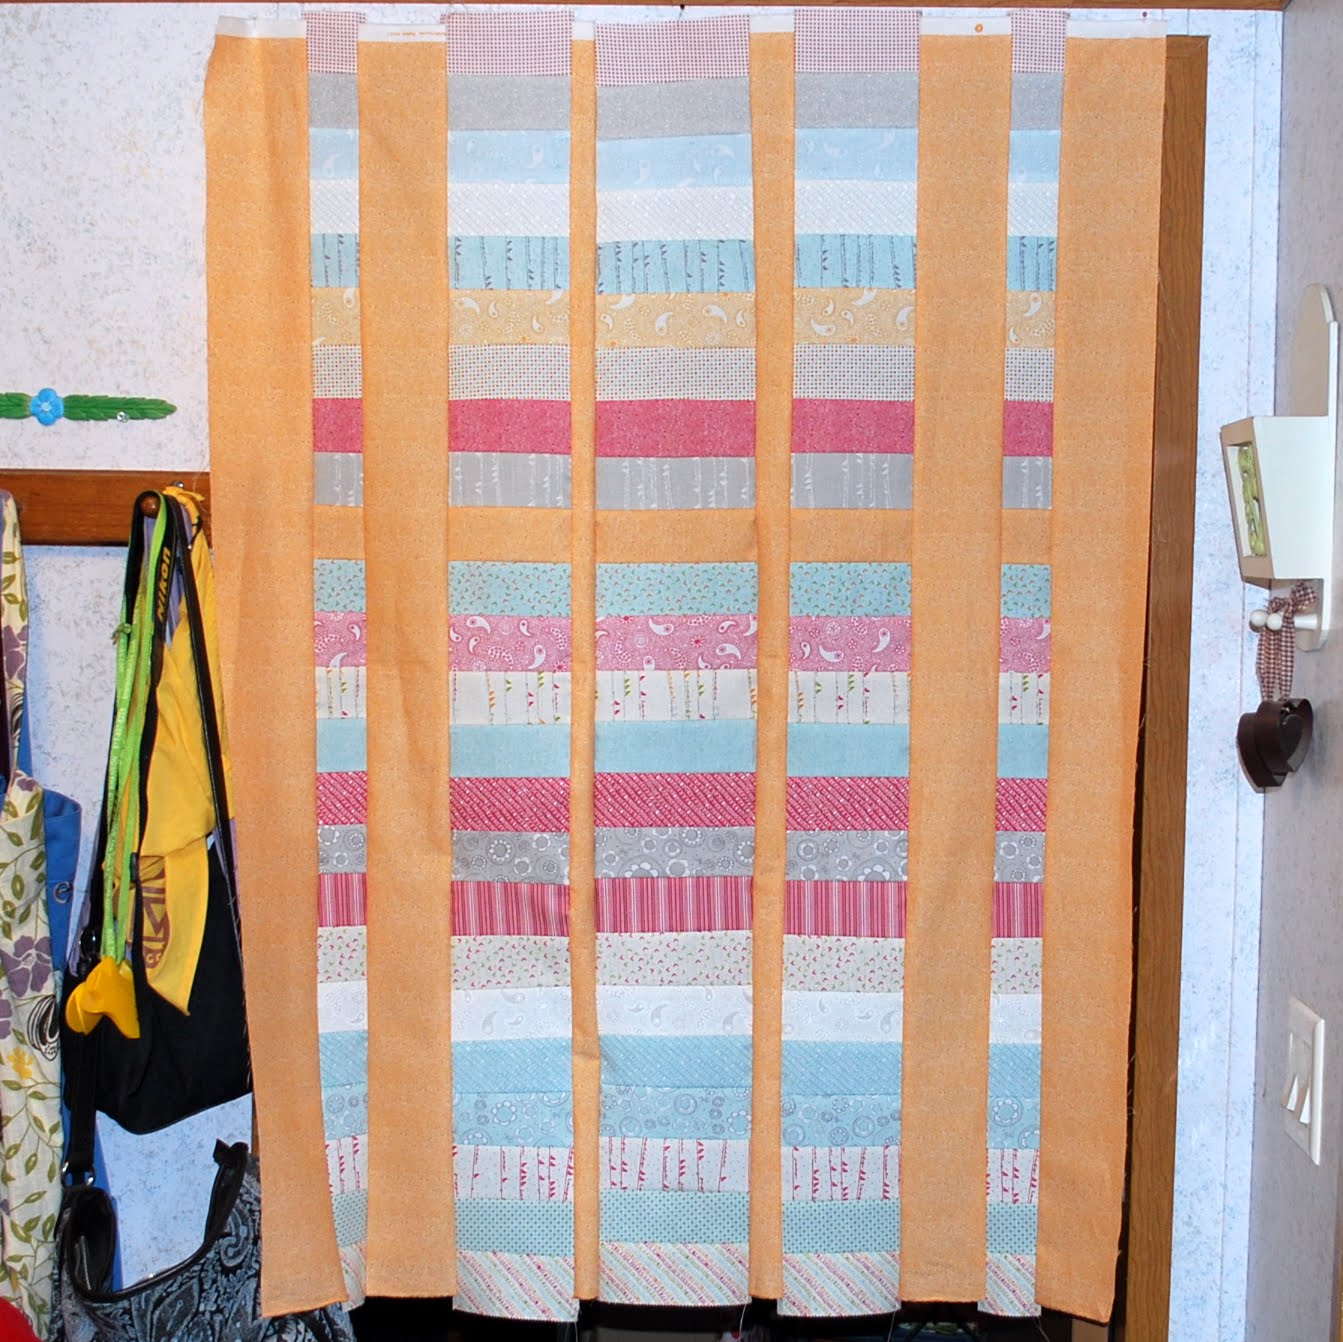
Adding in the orange stripes was fairly easy - though it required some pinning to make sure those seams remained pressed open. About every fourth or fifth seam was enough to hold it together and continually remind me to be watching the rest.

Whoops.
Although it doesn't look it in that image, it wound up too 'skinny' for the height. Especially when I thought about adding a head/foot of orange. So I pulled out my measuring tape and realized my mistake. Instead of using 5 inch pieces of orange, I used 4 inch pieces. So the quilt was just under five inches smaller than I'd planned (give or take some for seam allowance).
Remember that extra 6 inch wide piece I was going to use for the back?
To the rescue!
That's a better sized top. Though I still may add the two horizontal orange stripes. It looks good now, but in my sketches there's no comparison between with and without.
You might be able to see that the strips are just a little longer than the orange stripes, which are cut at width of fabric. And again, I'll have some selvage to trim off. That wasn't in my plan, but I tried to offset it so I'd miss a little of each top/bottom strip and keep a little of each.
If I don't add the horizontal orange, I should be able to back it out of a single cut of fabric. But that's not quite as fun as making a colorful coin-like stripe with my remaining 12 half-strips.
My real question now is this:
When I start on Quilt B, do I make it exactly the same as A, or do I measure the orange correctly and give it only the four sets of 'coins' I'd planned for? I think go to match A, but my husband disagrees.
No comments:
Post a Comment