I have been drooling over Elizabeth Hartman's Hazel Hedgehog pattern for ages, and I bought it for myself / baby projects over the winter holidays. Then, it just kind of sat around and waited for me to get back to it. Honestly, it was a little overwhelming and life was just too busy.
Over the weekend, we managed to get out the last of the excess furniture and bring in the mattress for the nursery, so the room is beginning to come together.
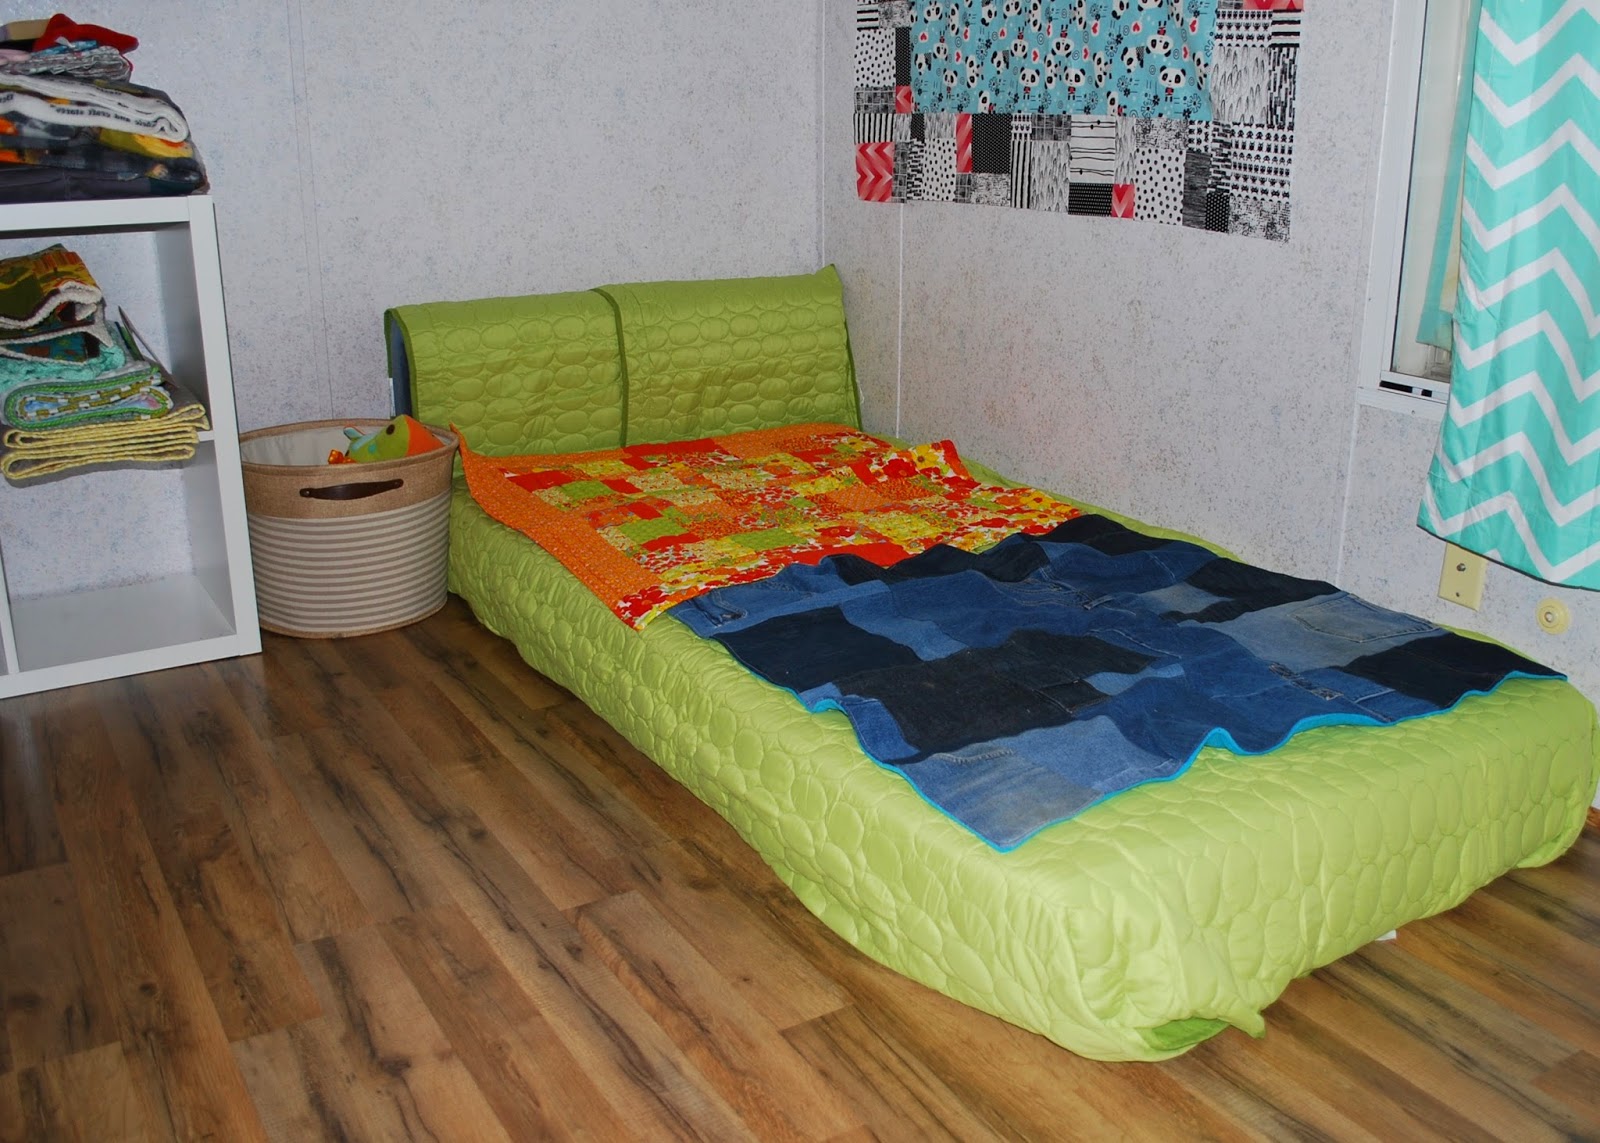
My goal is to keep the lower area clear so it can be safe for sleeping, and so I can put up pictures for him to look at during awake time, but I want some art work at a slightly higher level for color, interest, and... well, my sake. We'd been looking at various art pieces and debating what would work when suddenly I remembered Hazel Hedgehog. A few mini quilts as over the bed decor seem like the perfect solution. In theory, I have time and supplies. I might even have a few already made that would work. And, no worries about weight, falling, or clean up as life invariably happens to the room.
So, last night I pulled out Hazel Hedgehog's pattern and got to work.

Tip #2 -- I should have labeled all my cut pieces. I grabbed what I thought was the right piece, only to later learn it was the wrong one, but by then it was too late to un-do my mistake -- more so because I was working with really limited pieces of fabric than because it took me that long to figure it out!
So, I had a make it work moment in which I trimmed down the hedgehog's face to match the improperly made legs. Which later meant I had to trim down each of the spines to make them the "right" size.

There were some horrible noises last night as I was piecing the block, and I finally opened up the machine to search out the problem.

No comments:
Post a Comment