After flying through making the front and back for the Wonky Stacked Coin quilt, I took a long break to look for binding. Even once I found the right fabric, it took me a while to start on it. Part of that is because I procrastinate, part of that is because I fall in love with my current work and I'm convinced each step will ruin it. I'm working on that.
After pulling up some bias tape tutorials from my bookmarks bar, I jumped into a bias tape adventure inspired by
this tutorial. A little math (the diameter of the quilt to be bound) convinced me I wanted to make a more than the yield of a fat quarter, so I started with a rectangle of fabric about 23 by 48.
When it came to pinning together my parallelogram so the lines matched up, I must have walked back to the office to check the instructions five times in ten minutes. I could not get my head wrapped around what I was supposed to do. But it is exactly as it sounds - pin the lines together. The trick is that you are pinning them to create a spiral with your lines.
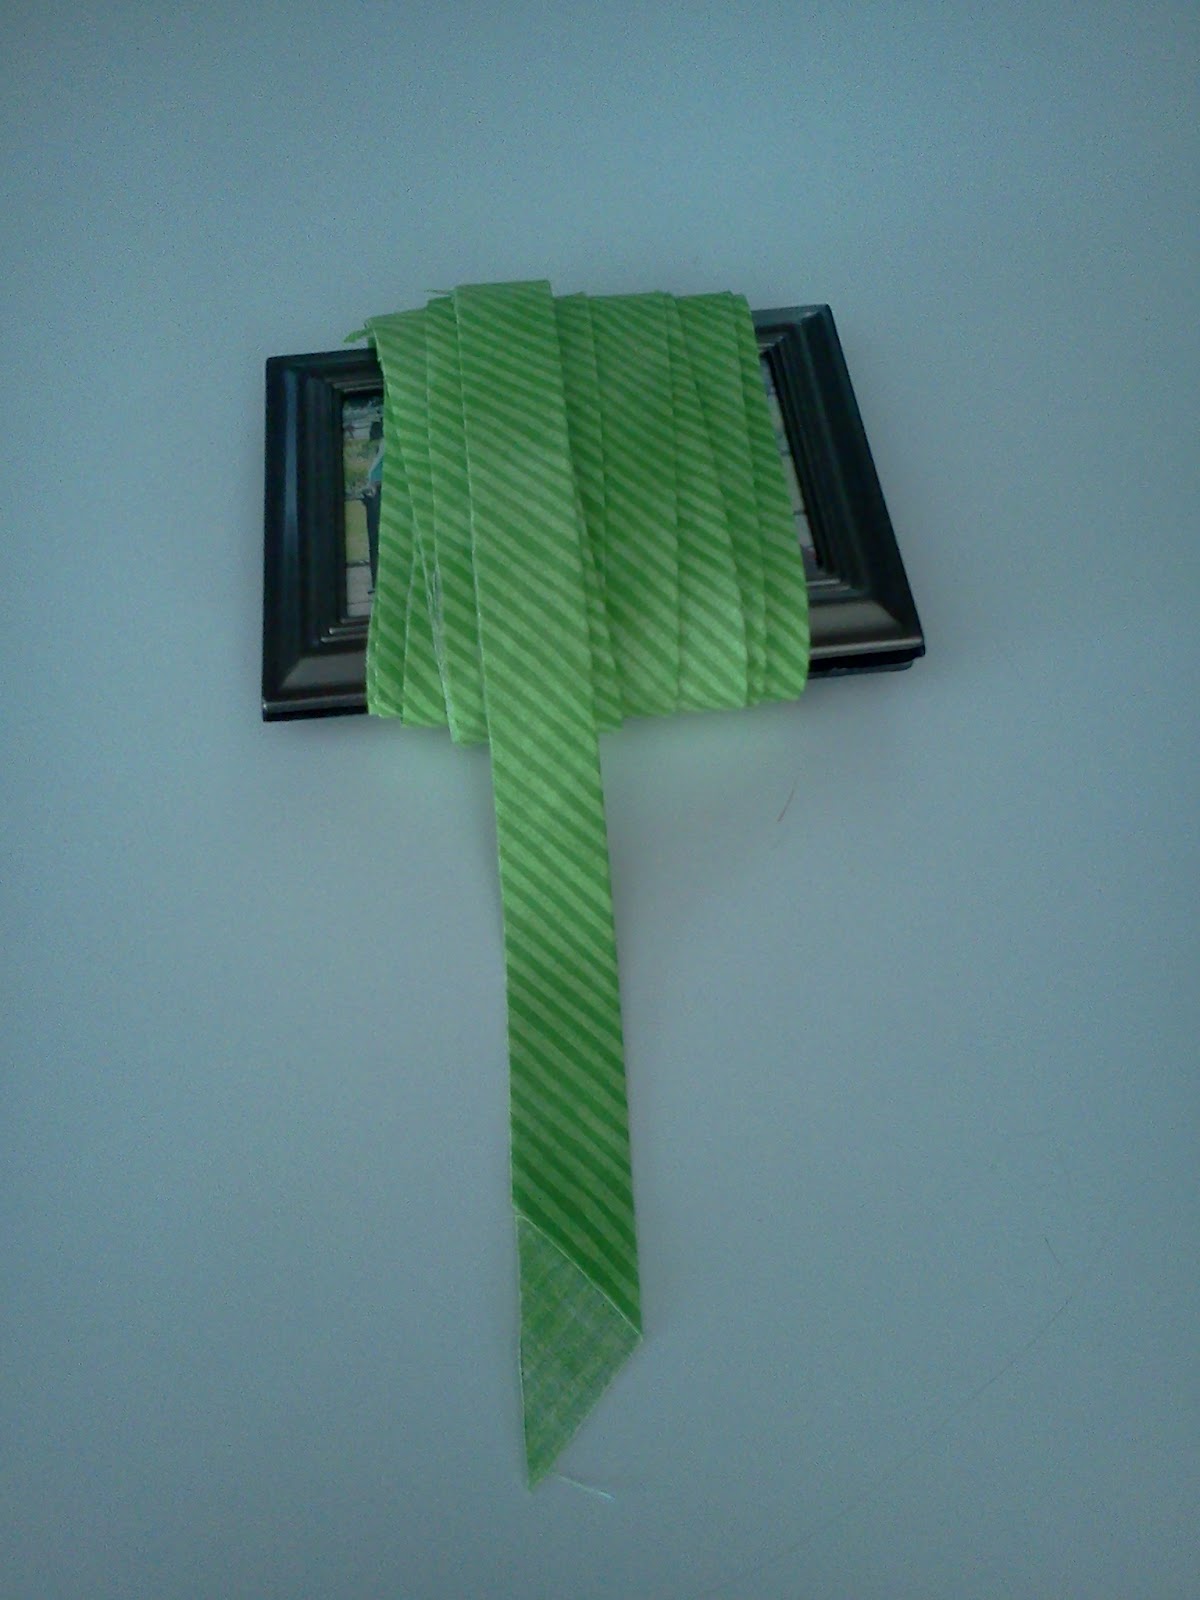
Pinning the parallelogram might have taken a little extra time, but once pinned and stitched, the bias tape comes to life quickly. Almost before I knew it I had more bias tape than I knew what to do with! I wrapped it around a free picture frame for easier transportation and went to get my quilt.
Pinned it to the top and stitched it on, one side at a time to allow room for mitered corners.
Turning the binding around the side of the quilt and attaching it on the reverse side was a little more difficult. I wish I'd gone a little larger than 2 inches for the bias tape width - I could have used a little bit more on the corners. Eventually I got it pinned and sewed down. I had hoped to be sewing on the quilt top on one side of the quilt and on the binding on the other, so I used variant color brown thread (my quilting thread) on one side and variant color green thread on the other.
Things didn't stay quite as square as they should have, so I do have a few spots where the brown thread wandered into the bias. While these areas are noticeable, they all occurred on the back of the quilt, so I'm not terribly concerned by them.
Of course I wish it was perfect. I'm tempted to pick out the truly obvious browns on the binding, but I'm not sure how I would truly fix it without removing the binding and starting over. For the moment, I'm going to live with it and see how I feel in a few days.
Now that it's
probably done, I can't believe I put this off for so long. Making my own bias tape wasn't as difficult as I'd feared, and even with the wandering brown thread, this method of attaching the binding yielded much smoother results than the previous method I've used.
There's really only one more step - washing it. This is the most worrisome step of all. There are so many ways this could fall apart in the wash. But if it's going to fall apart, I'd rather it do it on me than the recipients. Plus I like to think I can get some of the cat hair out if I wash it.
My camera is currently headed to the Grand Canyon with a friend, so it'll be a week before I can get any better pictures of the quilt as a whole - but there's no rush. Even though it's my third finish (I'm still working on squeezing the
giant star through my machine), I
probably won't reveal this quilt in whole until after I've given it to the parents-to-be.


No comments:
Post a Comment